Creating Your First Tool
This guide walks you through creating a complete Codebolt tool from scratch. You'll learn how to set up the configuration, implement functionality, and test your tool using both the Codebolt Application and CLI.
Prerequisites
Before creating your first tool, ensure you have:
- Codebolt Application installed (for UI-based creation)
- Codebolt CLI installed globally (
npm install -g codebolt-cli) - Node.js version 14 or higher
- Basic understanding of JavaScript and async programming
Method 1: Using Codebolt Application
Step 1: Access Tool Creation
- Open the Codebolt Application
- Navigate to the Tools section in the sidebar
- Click "Create New Tool" button
Step 2: Configure Your Tool
Fill in the basic tool information:
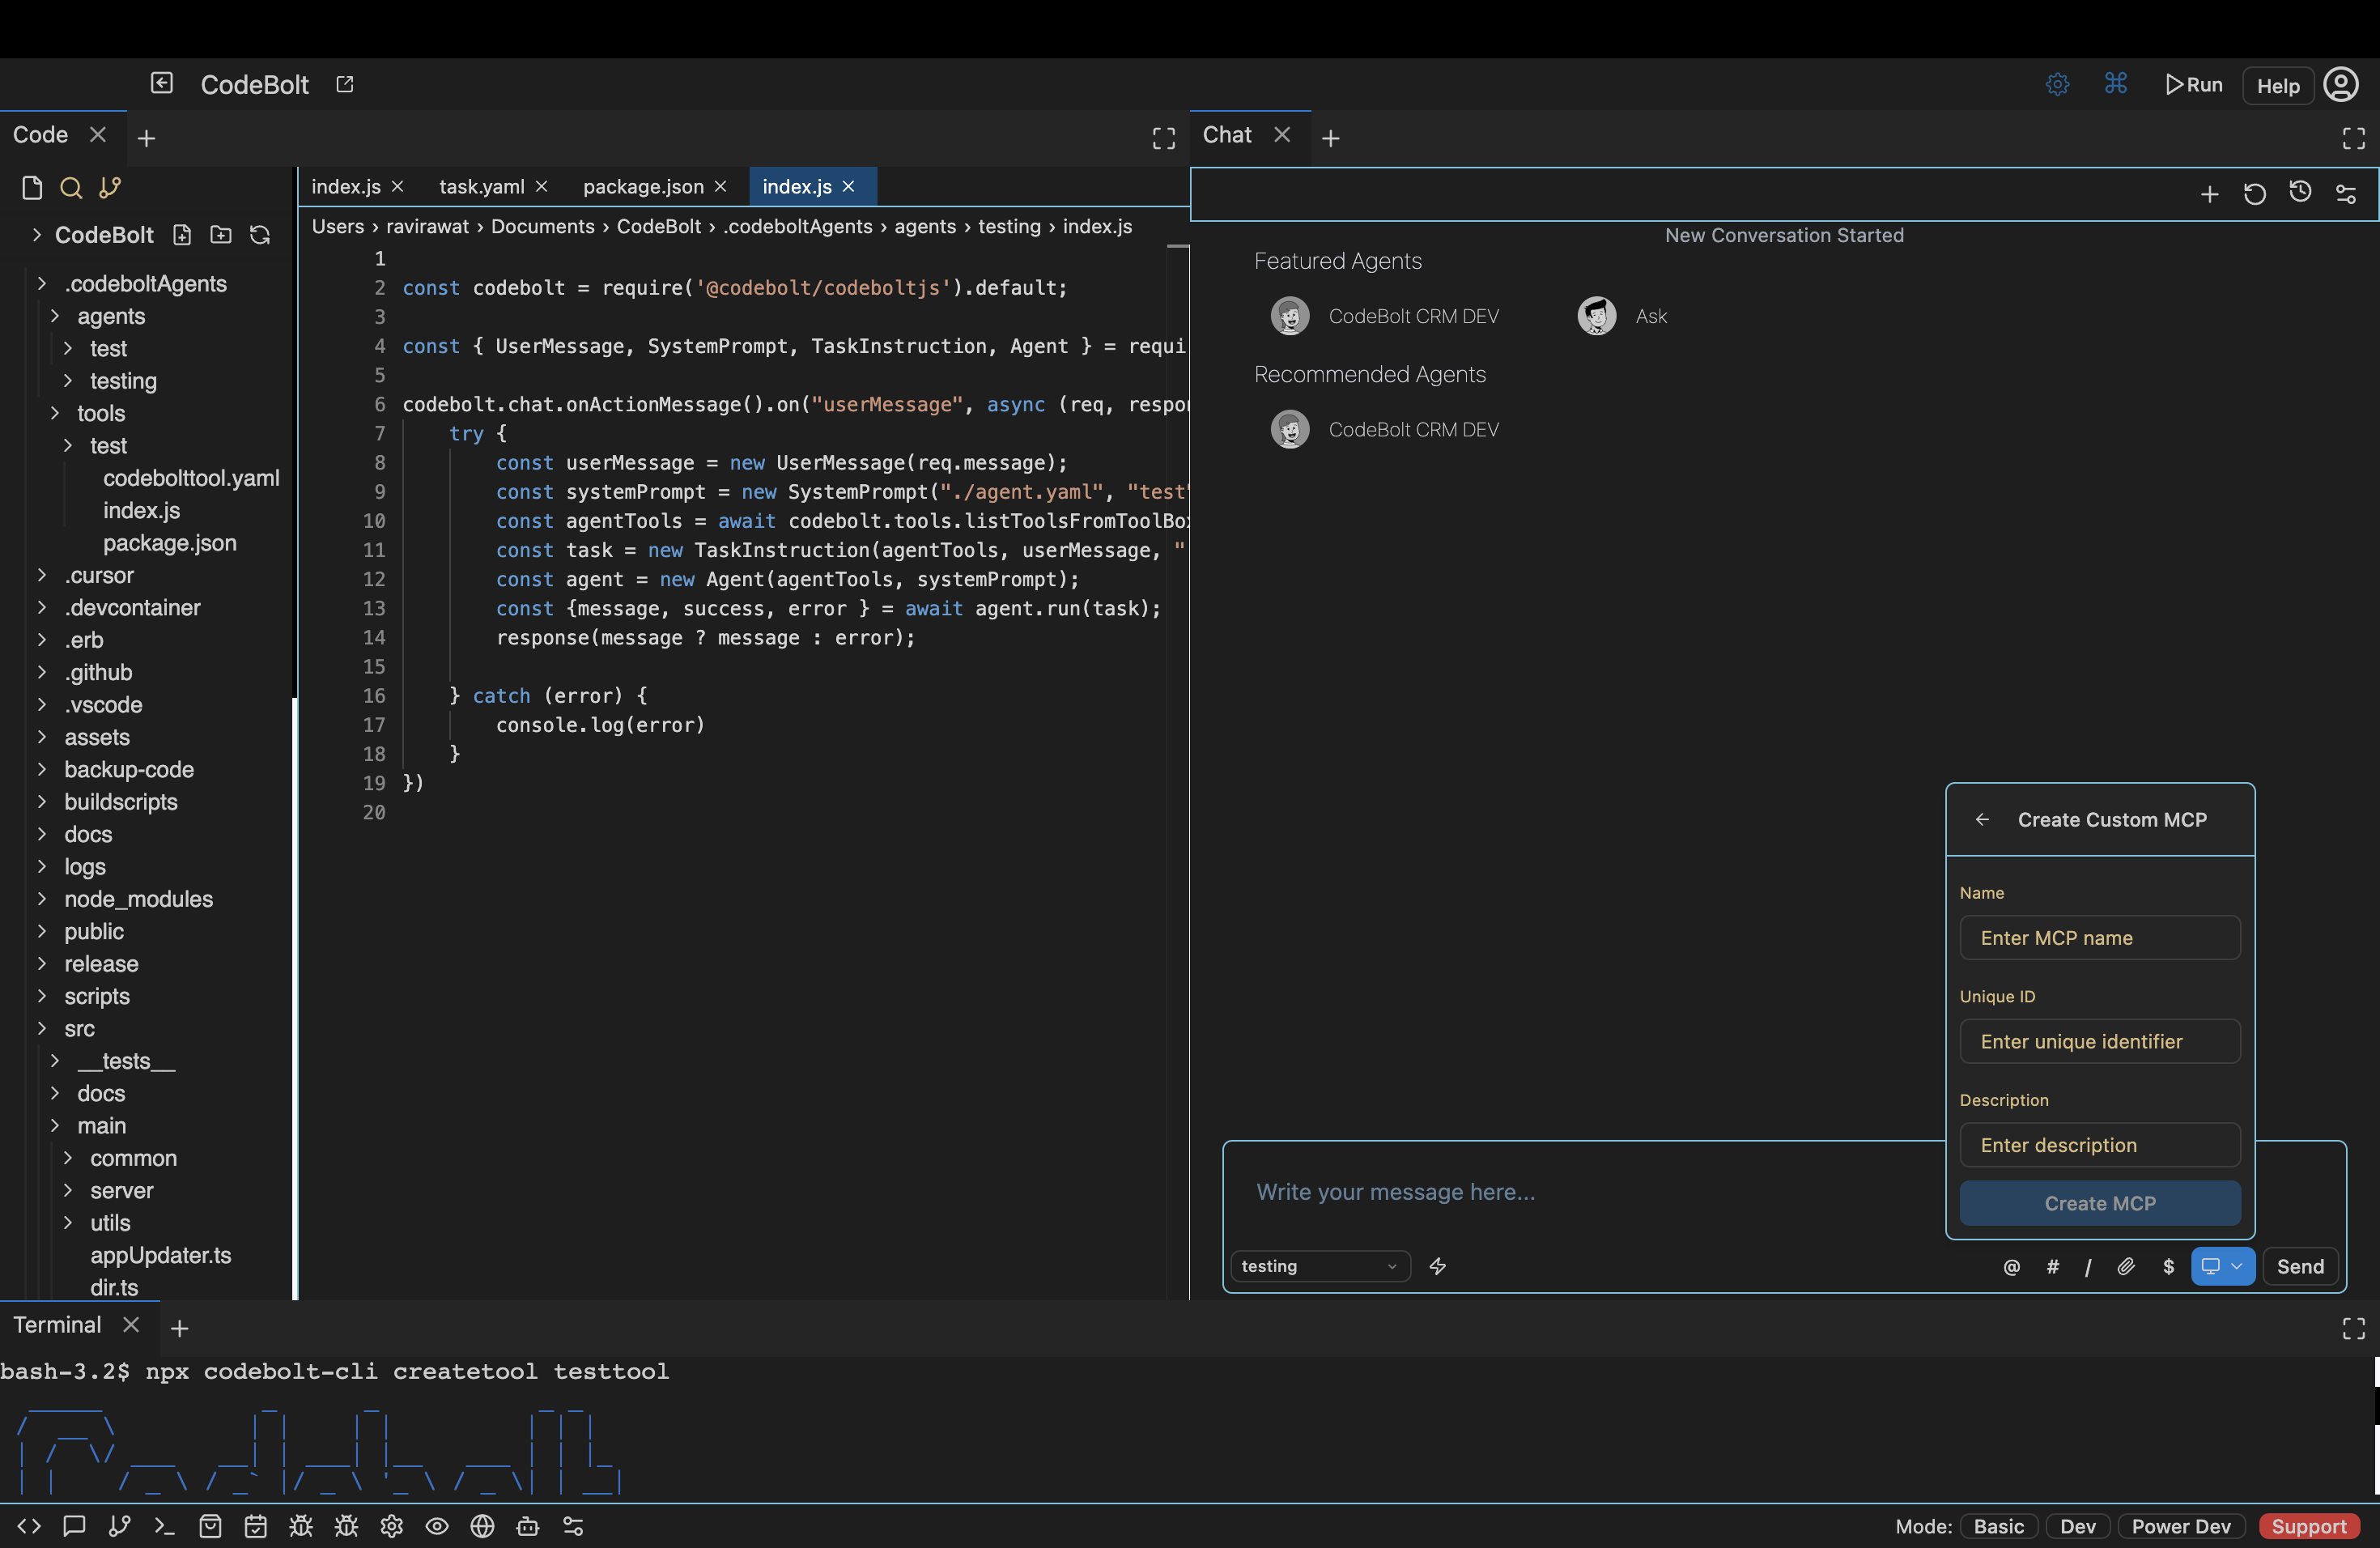
- Name: A descriptive name for your tool (e.g., "Weather API Tool")
- Unique Name: A unique identifier (e.g., "weather-api-tool")
- Description: What your tool does
- Version: Starting version (usually "1.0.0")
- Category: Tool category for organization
- Tags: Keywords for discovery
Step 3: Define Parameters
Configure the parameters your tool accepts:
parameters:
  apiKey:
    type: "string"
    description: "Weather API key"
    required: true
    sensitive: true

  units:
    type: "string"
    description: "Temperature units"
    default: "celsius"
    enum: ["celsius", "fahrenheit"]
Step 4: Implement Tool Functions
Write your tool's functionality in the code editor:
const { ToolBox } = require('@codebolt/toolbox');

class WeatherTool {
  constructor(config) {
    this.apiKey = config.parameters?.apiKey;
    this.units = config.parameters?.units || 'celsius';

    this.toolbox = new ToolBox({
      name: 'Weather API Tool',
      version: '1.0.0'
    });

    this.setupTools();
  }

  setupTools() {
    this.toolbox.addTool({
      name: 'get_current_weather',
      description: 'Get current weather for a city',
      parameters: {
        city: {
          type: 'string',
          description: 'City name',
          required: true
        }
      },
      execute: this.getCurrentWeather.bind(this)
    });

    this.toolbox.addTool({
      name: 'get_forecast',
      description: 'Get weather forecast',
      parameters: {
        city: {
          type: 'string',
          description: 'City name',
          required: true
        },
        days: {
          type: 'number',
          description: 'Number of days',
          default: 3,
          minimum: 1,
          maximum: 7
        }
      },
      execute: this.getForecast.bind(this)
    });
  }

  async getCurrentWeather(args, context) {
    try {
      const { city } = args;

      context.log.info(`Fetching weather for ${city}`);

      const response = await fetch(
        `https://api.weatherapi.com/v1/current.json?key=${this.apiKey}&q=${city}&units=${this.units}`
      );

      if (!response.ok) {
        throw new Error(`Weather API error: ${response.statusText}`);
      }

      const data = await response.json();

      return {
        city: data.location.name,
        country: data.location.country,
        temperature: data.current.temp_c,
        condition: data.current.condition.text,
        humidity: data.current.humidity,
        windSpeed: data.current.wind_kph,
        lastUpdated: data.current.last_updated
      };
    } catch (error) {
      context.log.error('Weather fetch failed', { error: error.message, city: args.city });
      throw new Error(`Failed to get weather: ${error.message}`);
    }
  }

  async getForecast(args, context) {
    try {
      const { city, days } = args;

      context.log.info(`Fetching ${days}-day forecast for ${city}`);

      const response = await fetch(
        `https://api.weatherapi.com/v1/forecast.json?key=${this.apiKey}&q=${city}&days=${days}&units=${this.units}`
      );

      if (!response.ok) {
        throw new Error(`Weather API error: ${response.statusText}`);
      }

      const data = await response.json();

      return {
        city: data.location.name,
        country: data.location.country,
        forecast: data.forecast.forecastday.map(day => ({
          date: day.date,
          maxTemp: day.day.maxtemp_c,
          minTemp: day.day.mintemp_c,
          condition: day.day.condition.text,
          chanceOfRain: day.day.daily_chance_of_rain
        }))
      };
    } catch (error) {
      context.log.error('Forecast fetch failed', { error: error.message, city: args.city });
      throw new Error(`Failed to get forecast: ${error.message}`);
    }
  }

  async start() {
    await this.toolbox.start();
  }
}

module.exports = WeatherTool;
Step 5: Test Your Tool
Use the built-in testing interface to verify your tool works correctly:
- Click "Test Tool" in the editor
- Select a function to test (e.g.,
get_current_weather) - Provide test parameters (e.g.,
{"city": "London"}) - Review the output and debug if necessary
Step 6: Save and Deploy
- Click "Save Tool" to store your tool
- Your tool is now available in the Tools section
- It can be used by agents in your workspace
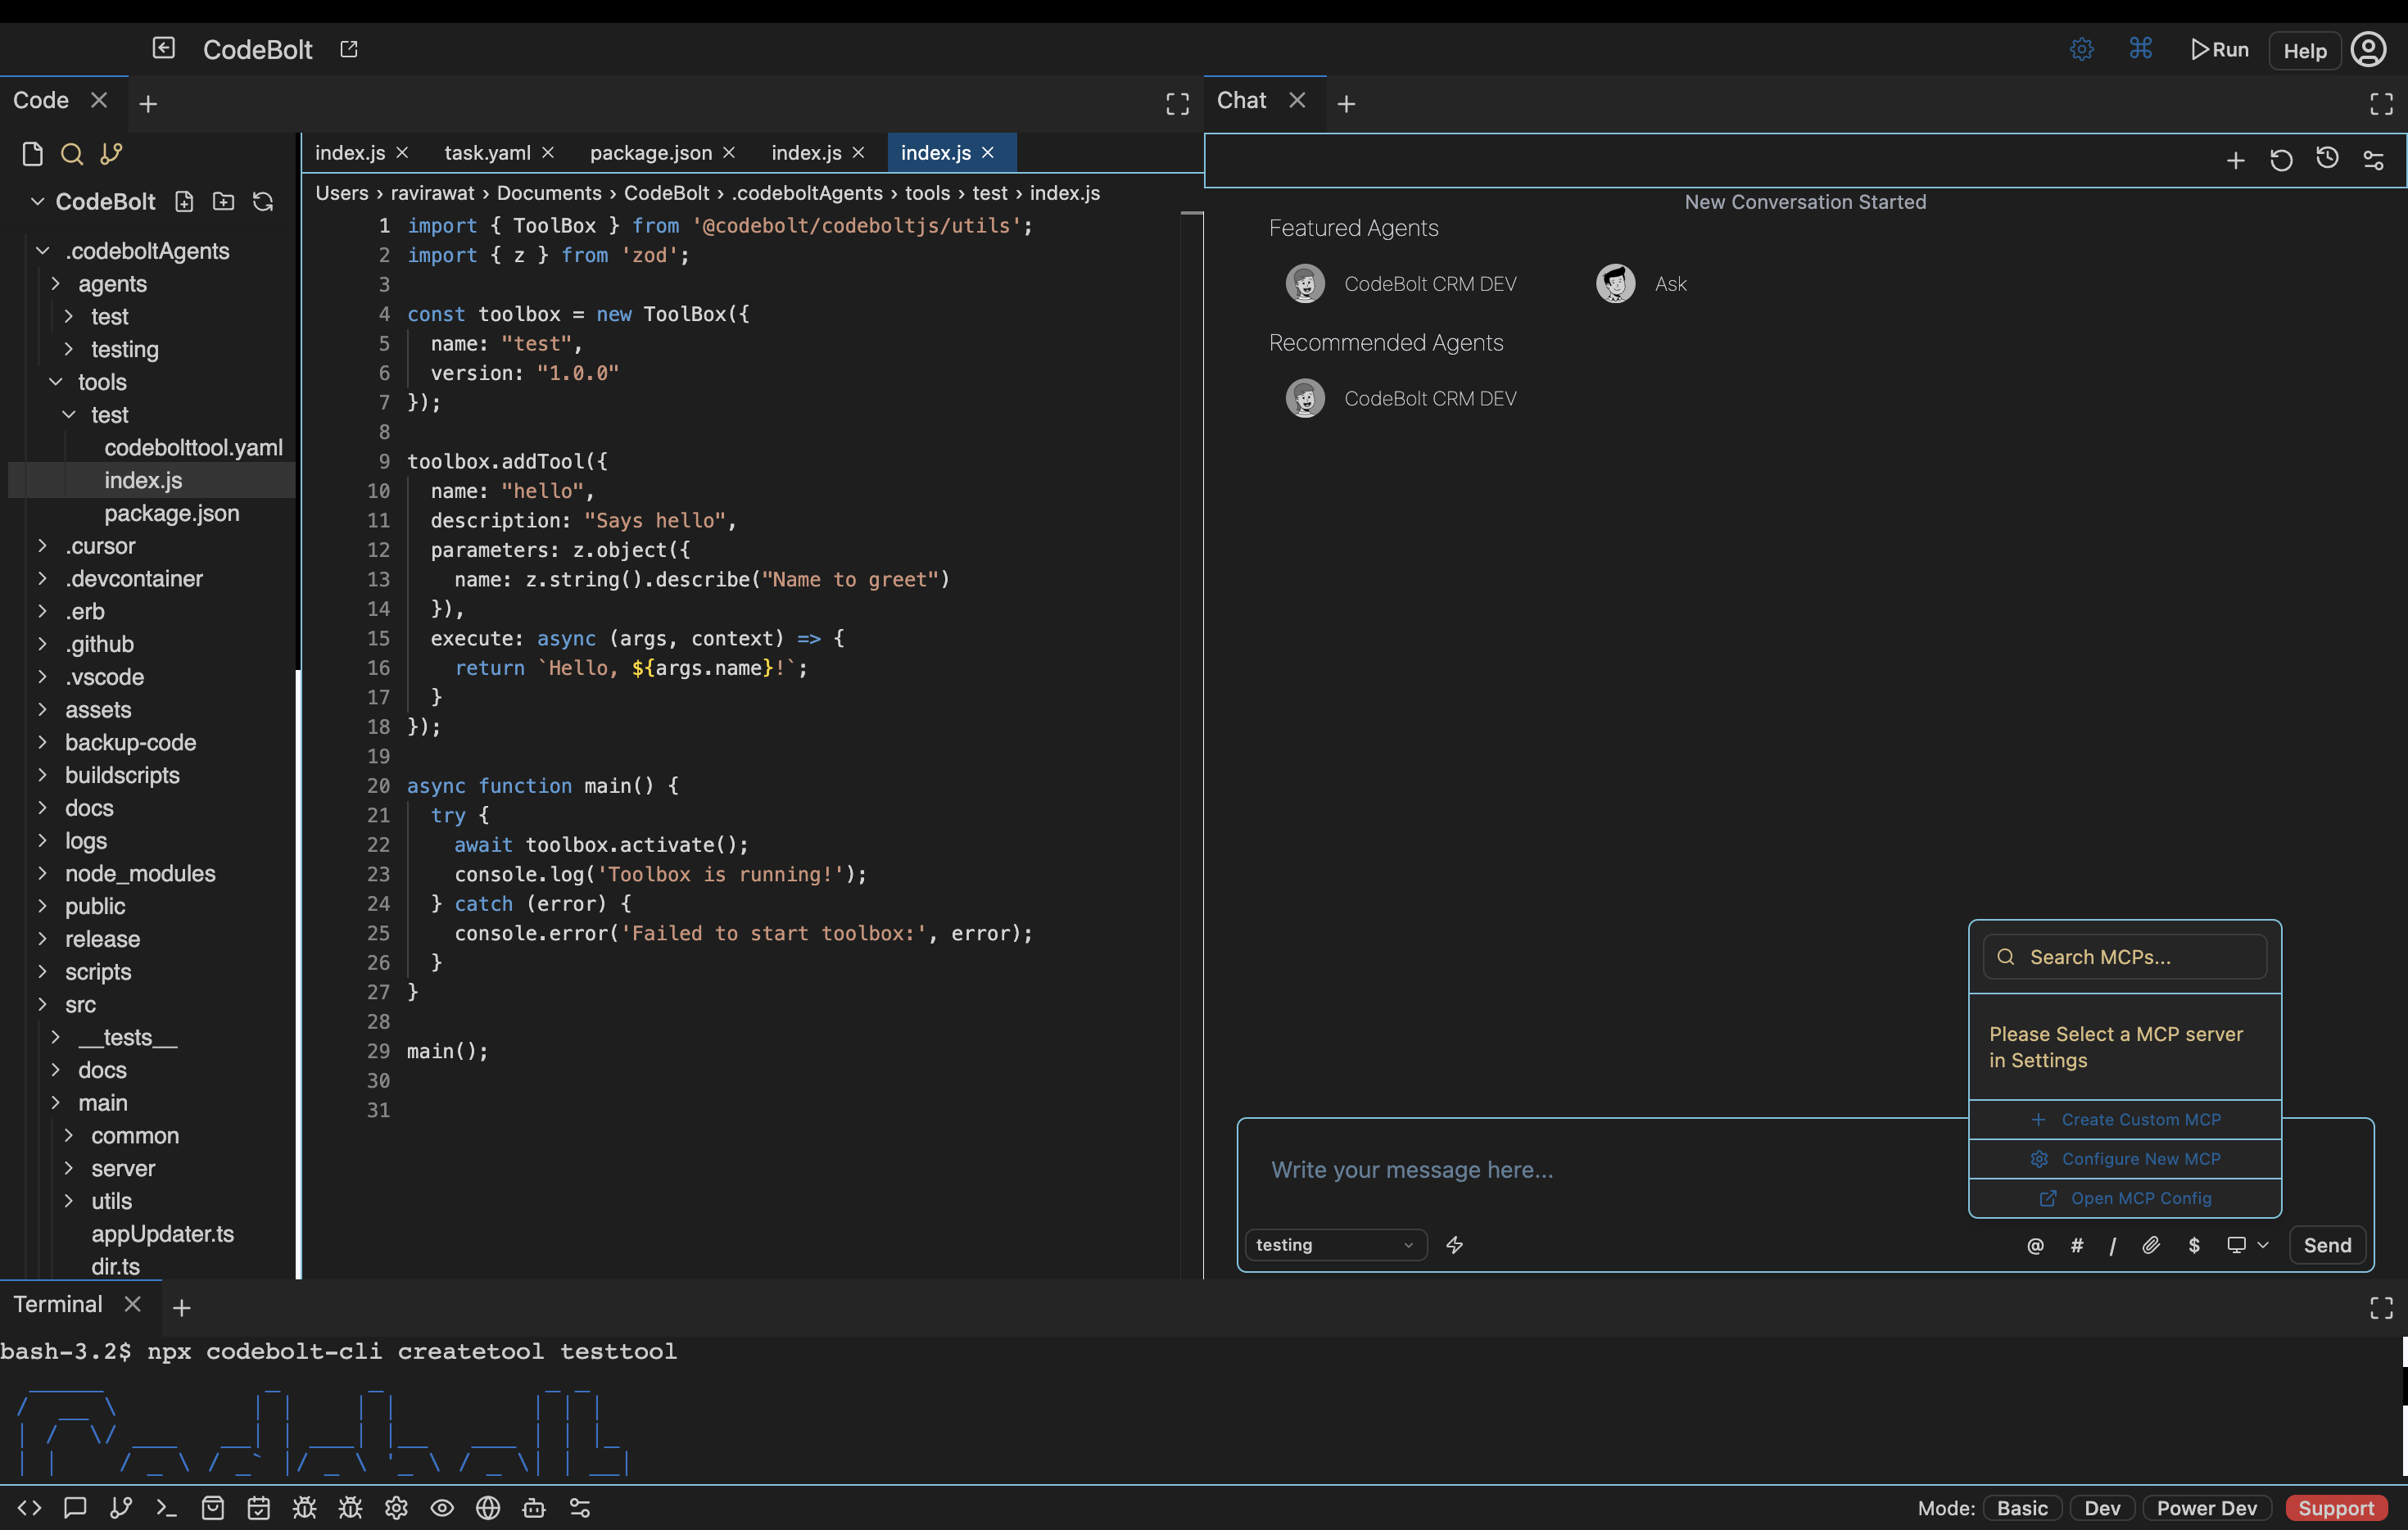
Method 2: Using CLI
Step 1: Create Tool Structure
# Create a new tool interactively
codebolt-cli createtool

# Or create with options
codebolt-cli createtool \
  --name "Weather API Tool" \
  --id "weather-api-tool" \
  --description "Fetches weather information from API"
Step 2: Navigate to Tool Directory
cd .codeboltAgents/tools/weather-api-tool
Step 3: Configure Tool
Edit the generated codebolttool.yaml:
name: "Weather API Tool"
description: "Fetches weather information from external API"
version: "1.0.0"
uniqueName: "weather-api-tool"
author: "Your Name"
category: "API"
tags: ["weather", "api", "forecast"]

parameters:
  apiKey:
    type: "string"
    description: "WeatherAPI.com API key"
    required: true
    sensitive: true

  units:
    type: "string"
    description: "Temperature units (celsius or fahrenheit)"
    default: "celsius"
    enum: ["celsius", "fahrenheit"]

  timeout:
    type: "number"
    description: "Request timeout in seconds"
    default: 10
    minimum: 1
    maximum: 60
Step 4: Implement Tool Logic
Replace the content of index.js with your implementation (use the same code as shown in Method 1).
Step 5: Add Dependencies
Update package.json if you need additional dependencies:
{
  "name": "weather-api-tool",
  "version": "1.0.0",
  "description": "Weather API tool for Codebolt",
  "main": "index.js",
  "dependencies": {
    "@codebolt/toolbox": "^1.0.0",
    "node-fetch": "^3.3.0"
  }
}
Install dependencies:
npm install
Step 6: Test Your Tool
# Test the get_current_weather function
codebolt-cli runtool get_current_weather ./index.js

# Use the interactive inspector for debugging
codebolt-cli inspecttool ./index.js
Step 7: Create Documentation
Create a comprehensive README.md:
# Weather API Tool

A Codebolt tool that fetches weather information using the WeatherAPI.com service.

## Features

- Get current weather conditions
- Fetch weather forecasts (1-7 days)
- Support for Celsius and Fahrenheit units
- Error handling and logging

## Configuration

### Required Parameters

- `apiKey`: Your WeatherAPI.com API key (get one at https://weatherapi.com)

### Optional Parameters

- `units`: Temperature units ("celsius" or "fahrenheit", default: "celsius")
- `timeout`: Request timeout in seconds (default: 10)

## Functions

### get_current_weather

Get current weather conditions for a city.

**Parameters:**
- `city` (string, required): City name

**Returns:**
```json
{
  "city": "London",
  "country": "United Kingdom",
  "temperature": 15.5,
  "condition": "Partly cloudy",
  "humidity": 65,
  "windSpeed": 12.5,
  "lastUpdated": "2024-01-15 14:30"
}
get_forecast
Get weather forecast for a city.
Parameters:
city(string, required): City namedays(number, optional): Number of forecast days (1-7, default: 3)
Returns:
{
  "city": "London",
  "country": "United Kingdom",
  "forecast": [
    {
      "date": "2024-01-15",
      "maxTemp": 18.2,
      "minTemp": 12.1,
      "condition": "Sunny",
      "chanceOfRain": 10
    }
  ]
}
Usage Examples
In an Agent
// Get current weather
const weather = await this.tools.weatherApi.getCurrentWeather({
  city: "New York"
});

// Get 5-day forecast
const forecast = await this.tools.weatherApi.getForecast({
  city: "Tokyo",
  days: 5
});
Testing with CLI
# Test current weather
codebolt-cli runtool get_current_weather ./index.js

# Test forecast
codebolt-cli runtool get_forecast ./index.js
Error Handling
The tool handles various error scenarios:
- Invalid API keys
- Network timeouts
- Invalid city names
- API rate limits
All errors are logged with context for debugging.
License
MIT License
## Testing Your Tool

### Unit Testing

Create a test file `test/weather-tool.test.js`:

```javascript
const WeatherTool = require('../index.js');

// Mock fetch for testing
global.fetch = jest.fn();

describe('WeatherTool', () => {
  let tool;
  let mockContext;

  beforeEach(() => {
    tool = new WeatherTool({
      parameters: {
        apiKey: 'test-api-key',
        units: 'celsius'
      }
    });

    mockContext = {
      log: {
        info: jest.fn(),
        error: jest.fn()
      }
    };

    fetch.mockClear();
  });

  describe('getCurrentWeather', () => {
    test('should return weather data for valid city', async () => {
      const mockResponse = {
        location: { name: 'London', country: 'UK' },
        current: {
          temp_c: 15.5,
          condition: { text: 'Sunny' },
          humidity: 65,
          wind_kph: 12.5,
          last_updated: '2024-01-15 14:30'
        }
      };

      fetch.mockResolvedValueOnce({
        ok: true,
        json: async () => mockResponse
      });

      const result = await tool.getCurrentWeather(
        { city: 'London' },
        mockContext
      );

      expect(result.city).toBe('London');
      expect(result.temperature).toBe(15.5);
      expect(mockContext.log.info).toHaveBeenCalledWith('Fetching weather for London');
    });

    test('should handle API errors', async () => {
      fetch.mockResolvedValueOnce({
        ok: false,
        statusText: 'Unauthorized'
      });

      await expect(tool.getCurrentWeather(
        { city: 'London' },
        mockContext
      )).rejects.toThrow('Failed to get weather: Weather API error: Unauthorized');
    });
  });
});
Run tests:
npm test
Integration Testing
Test with the CLI inspector:
# Open interactive inspector
codebolt-cli inspecttool ./index.js
In the inspector:
- Select
get_current_weatherfunction - Enter parameters:
{"city": "London"} - Click "Execute" to test
- Review the response and logs
Publishing Your Tool
Publish to Registry
# Publish your tool to the registry
codebolt-cli publishtool

# Or publish from specific directory
codebolt-cli publishtool ./weather-api-tool
During publishing, you'll be prompted for:
- GitHub repository URL (optional)
- Category
- Tags
- Whether the tool requires an API key
Tool Registry Benefits
Once published, your tool:
- Becomes discoverable by other developers
- Can be installed and used by anyone
- Gets version management and update notifications
- Receives community feedback and ratings
Best Practices
1. Error Handling
Always handle errors gracefully:
async myFunction(args, context) {
  try {
    // Your logic here
    return result;
  } catch (error) {
    context.log.error('Operation failed', {
      error: error.message,
      args
    });
    throw new Error(`Operation failed: ${error.message}`);
  }
}
2. Input Validation
Validate inputs before processing:
async processData(args, context) {
  if (!args.data || typeof args.data !== 'string') {
    throw new Error('Invalid data parameter');
  }

  if (args.limit && (args.limit < 1 || args.limit > 1000)) {
    throw new Error('Limit must be between 1 and 1000');
  }

  // Process data...
}
3. Logging
Use context logging for debugging:
async fetchData(args, context) {
  context.log.info('Starting data fetch', { url: args.url });

  const result = await fetch(args.url);

  context.log.info('Data fetch completed', {
    status: result.status,
    size: result.data?.length
  });

  return result;
}
4. Configuration
Use parameters for configuration:
parameters:
  maxRetries:
    type: "number"
    description: "Maximum retry attempts"
    default: 3
    minimum: 1
    maximum: 10

  timeout:
    type: "number"
    description: "Timeout in milliseconds"
    default: 5000
Next Steps
- Test Your Tool Locally - Learn advanced testing techniques
- Publish Your Tool - Share your tool with the community
- Tool Registry - Discover and use existing tools
- Advanced Patterns - Learn advanced tool development patterns