Creating Your First Codebolt Agent
This guide will walk you through the process of creating your first custom Codebolt agent. Custom agents allow you to extend Codebolt's functionality with your own AI-powered tools.
Prerequisites
Before creating an agent, ensure you have:
- Codebolt installed on your system
- Node.js and npm (comes with the Codebolt installation)
- Basic understanding of JavaScript/TypeScript
Step-by-Step Guide
1. Initiating Agent Creation
To begin creating a new agent:
- Open Codebolt and navigate to the chat interface.
- Click on the "Create Agent" button in the chat window. This option is typically found in the sidebar or main interface.
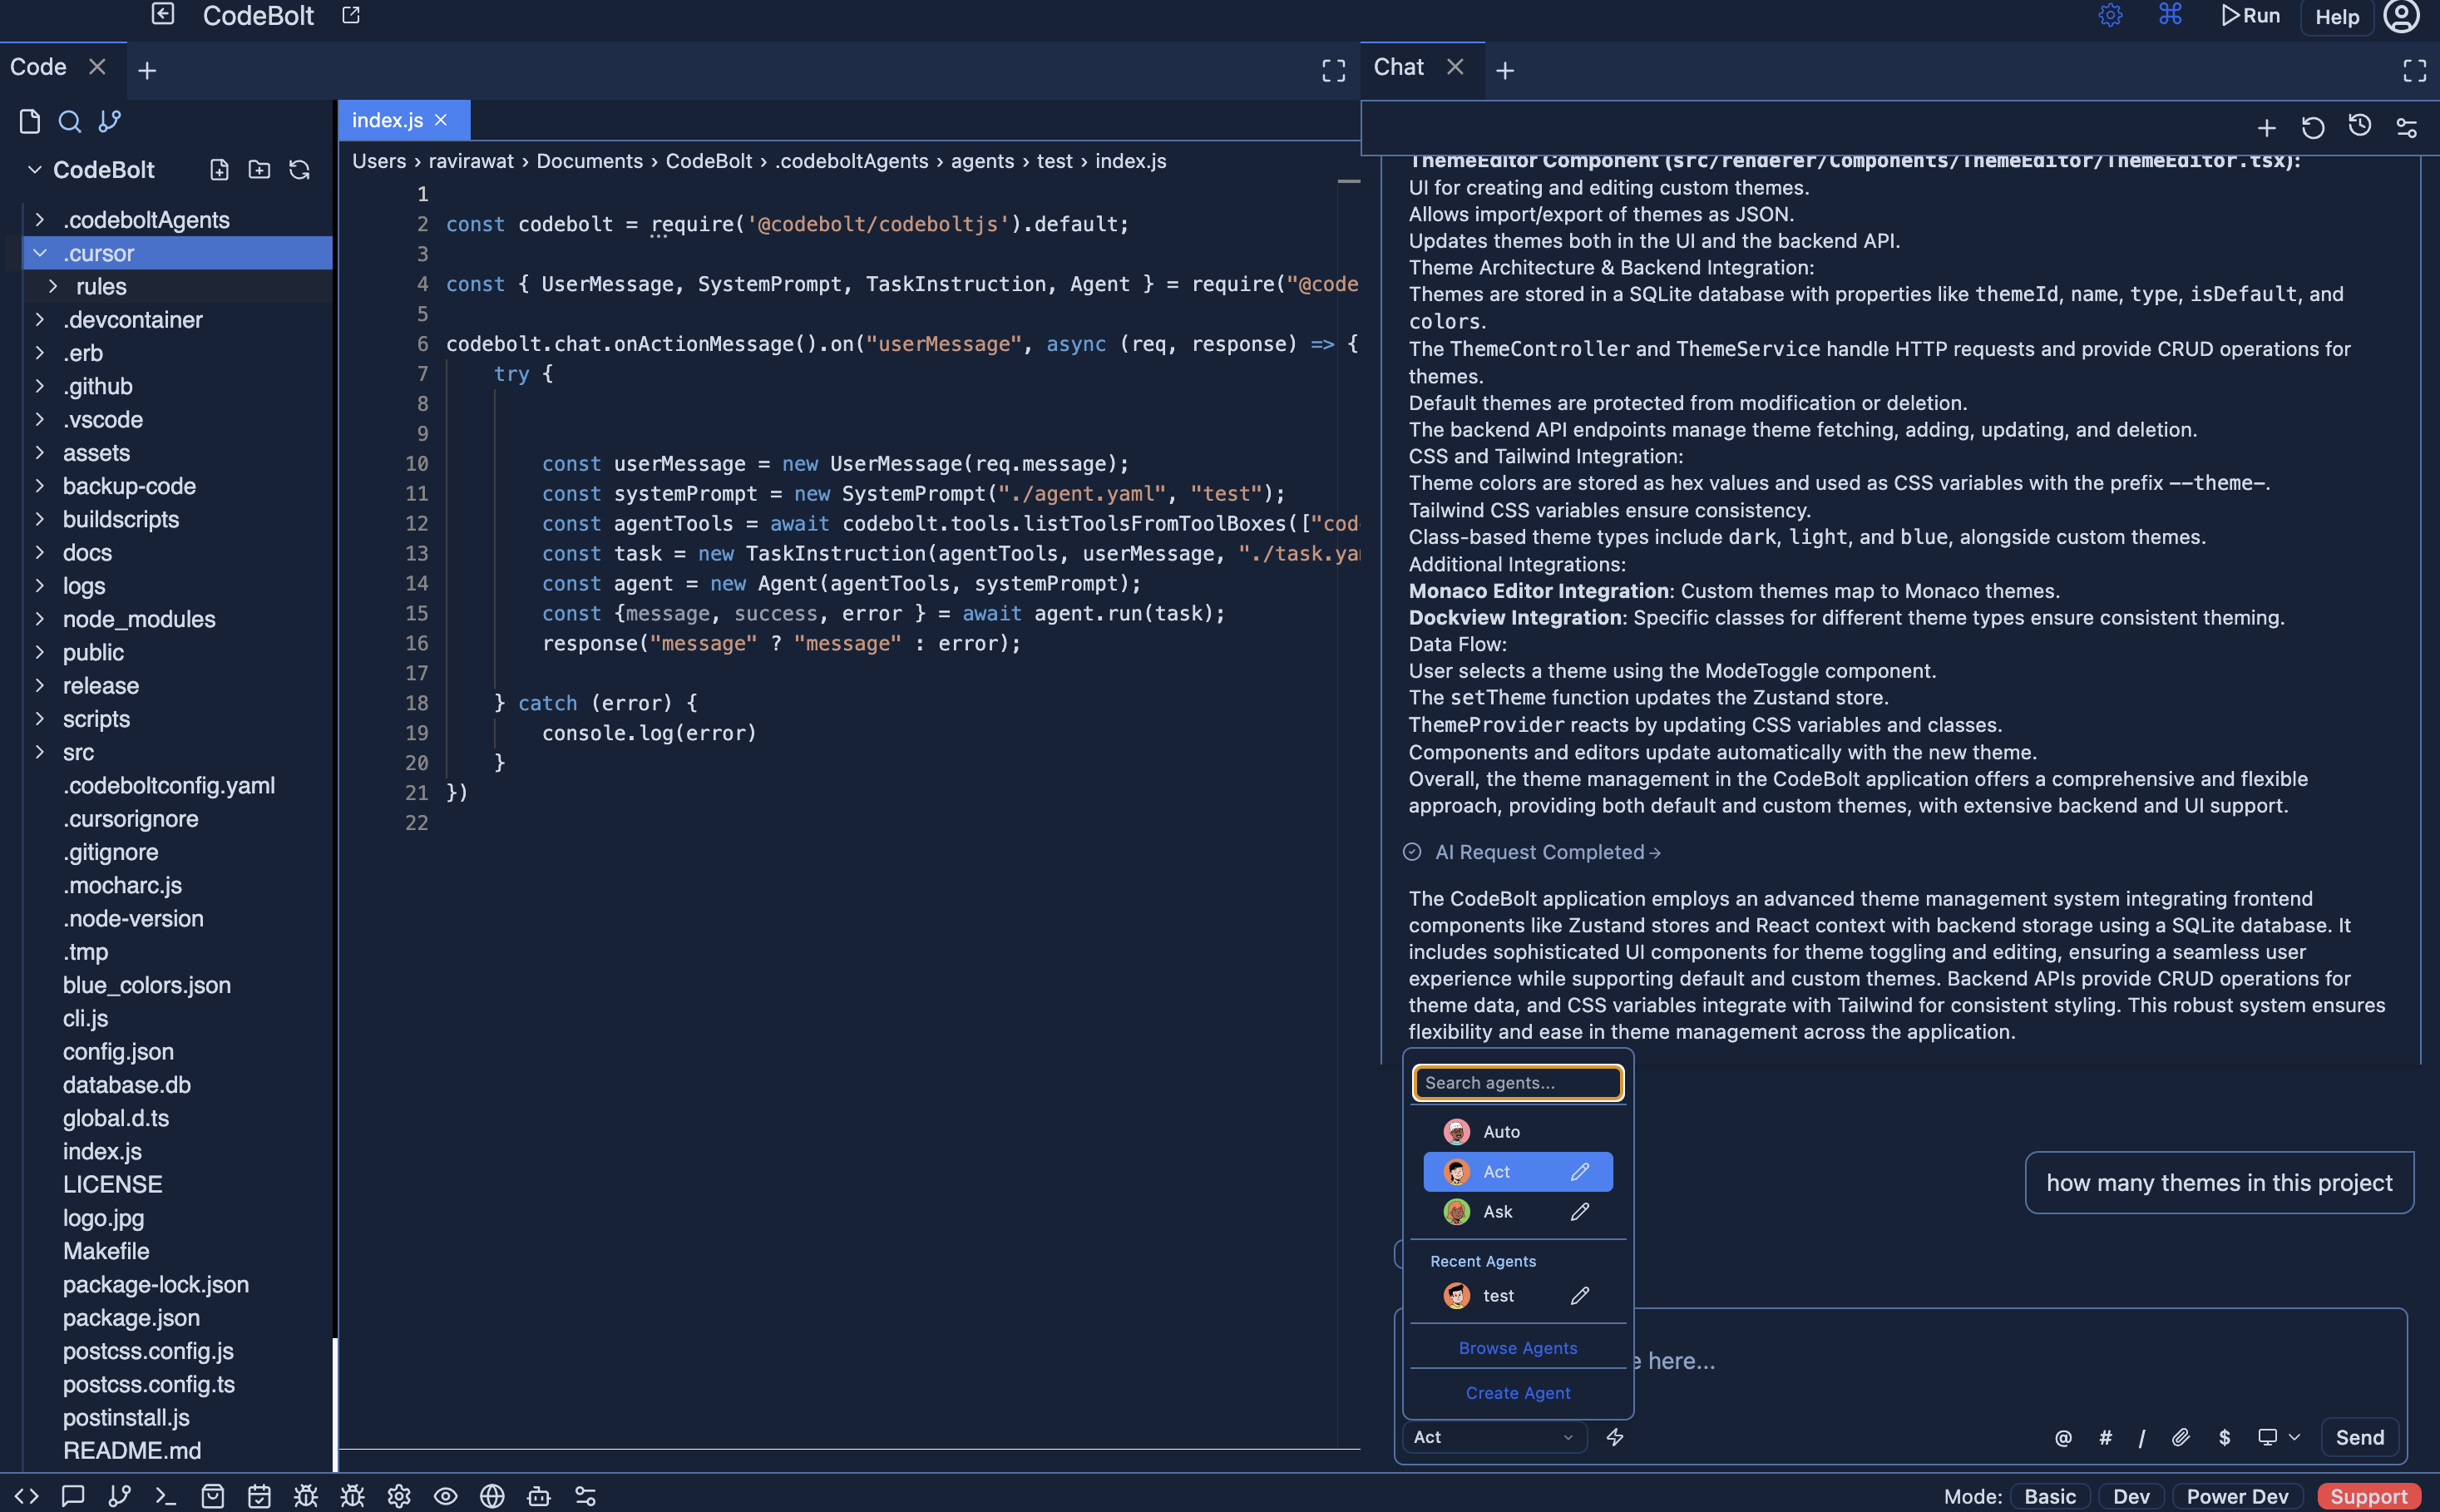
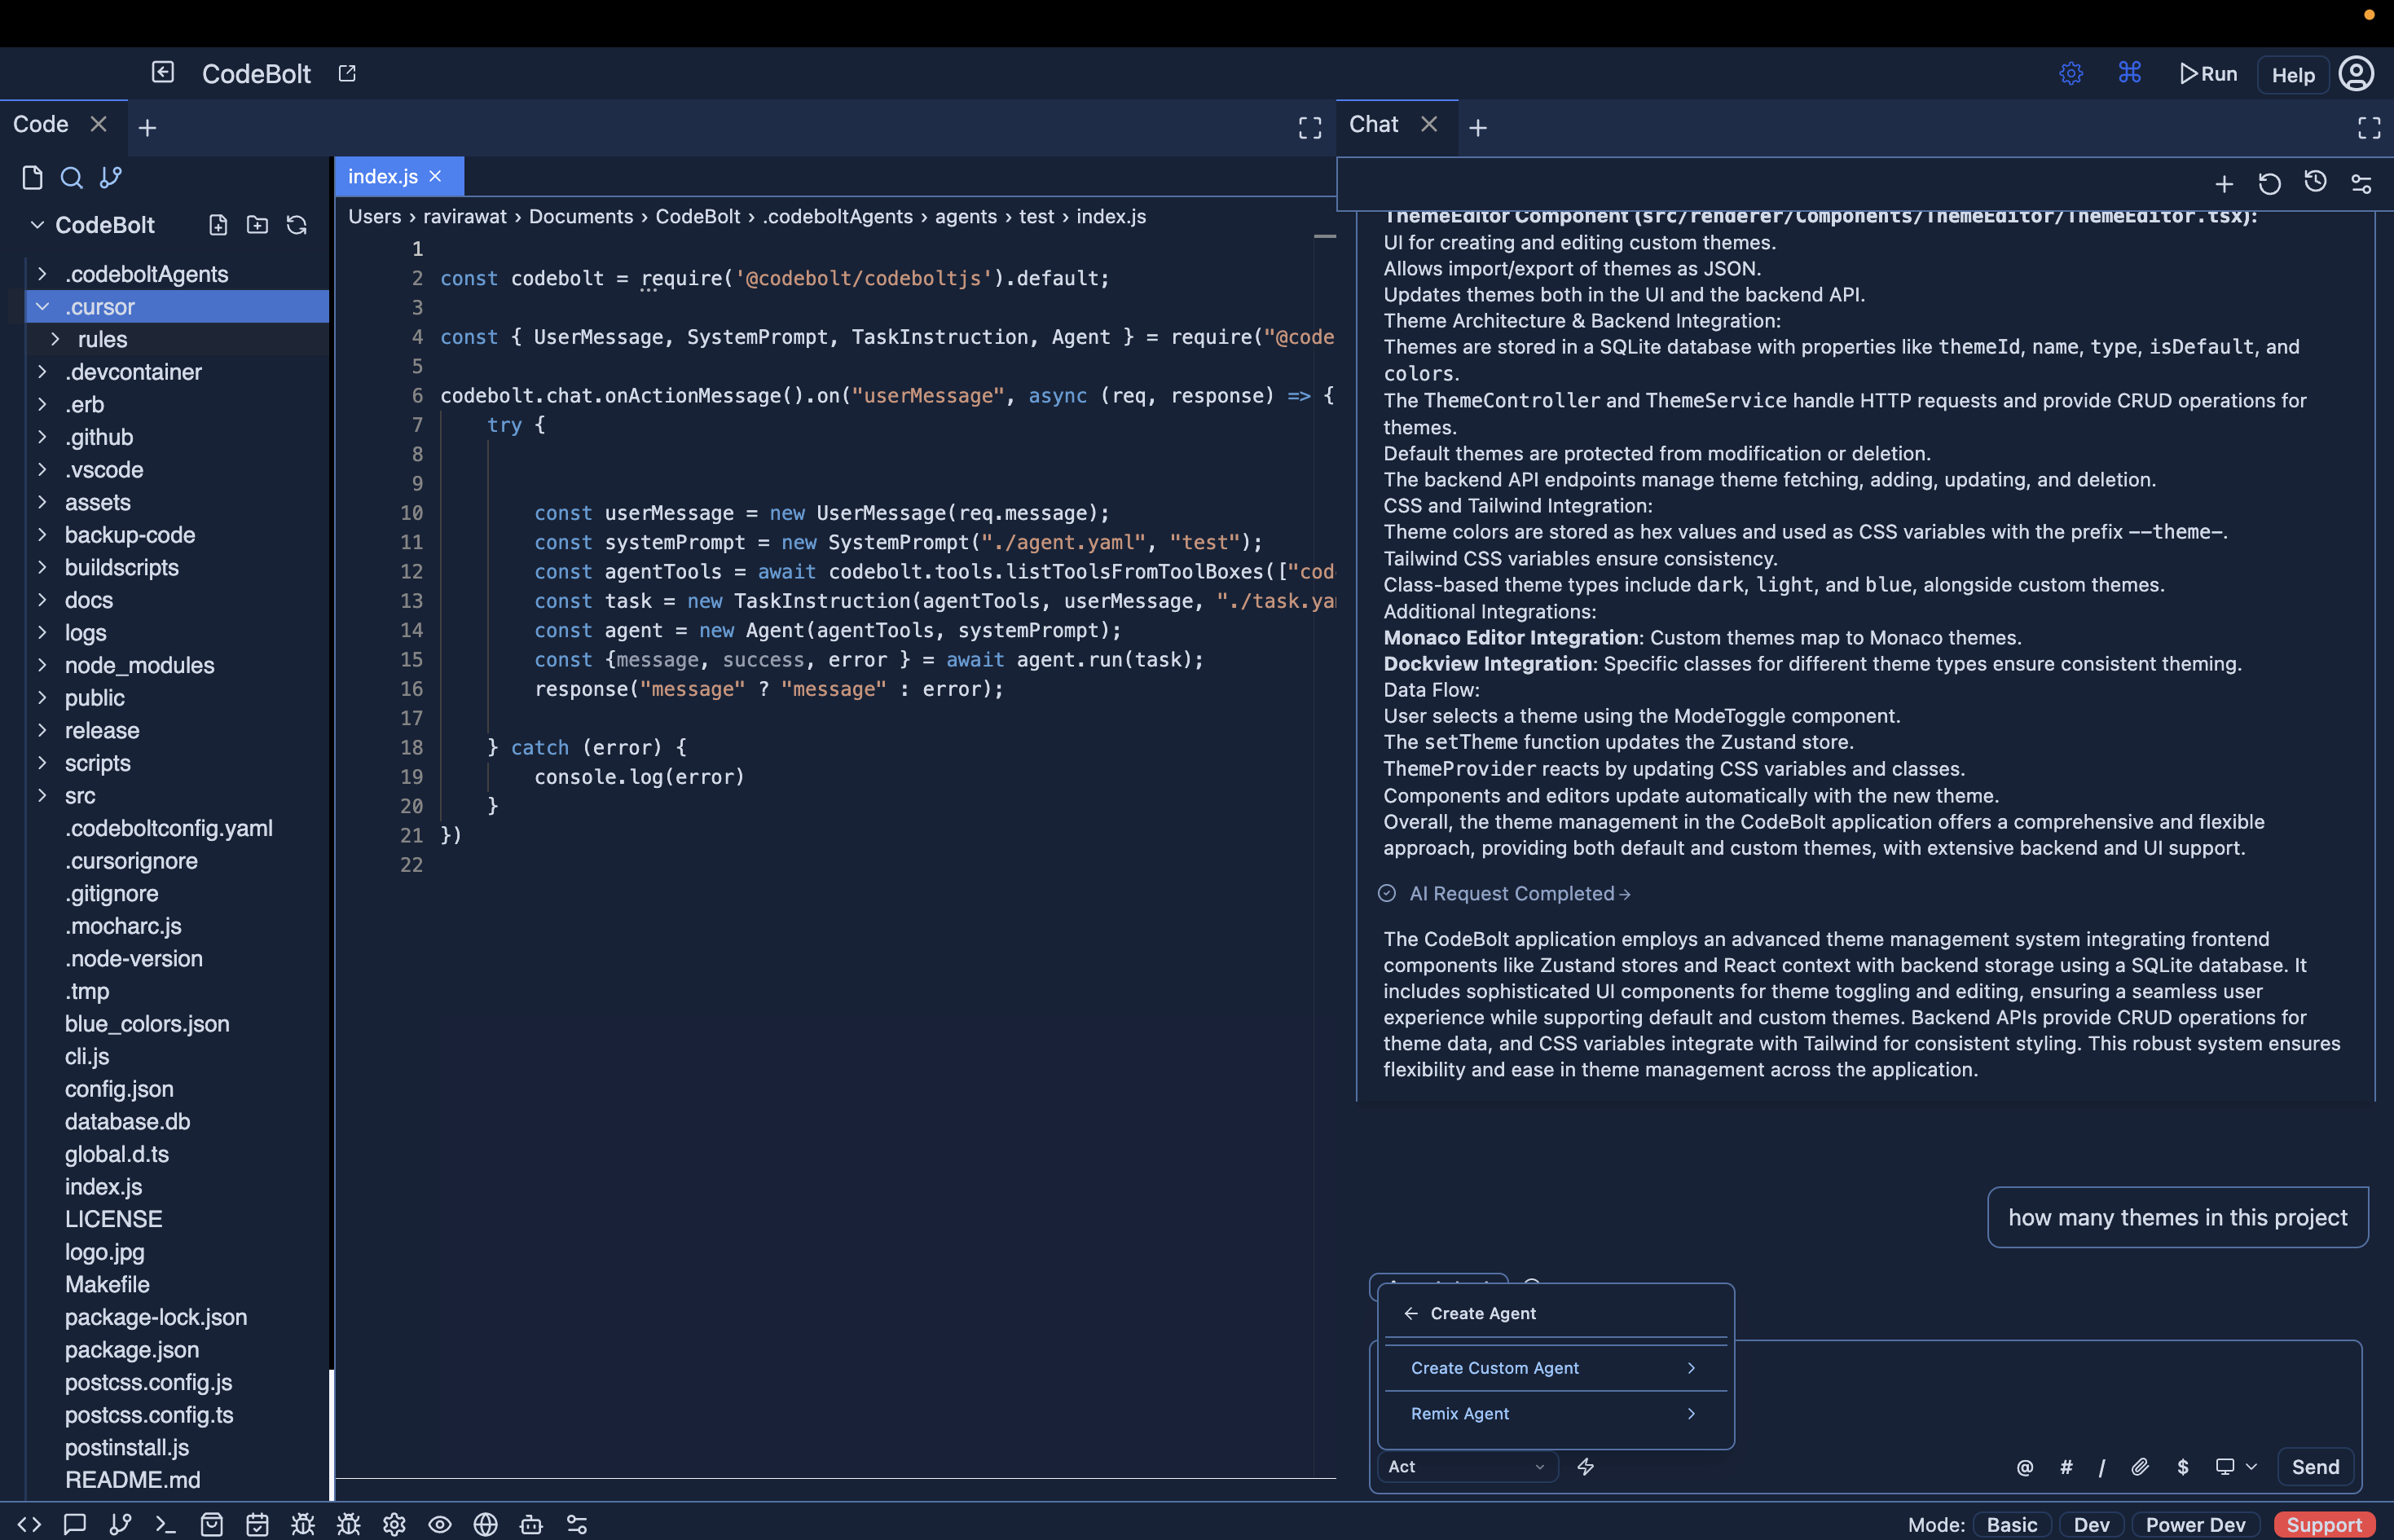
2. Select Agent Type
Next, you'll need to choose the type of agent you want to create:
- Select "Custom Agent" from the available options. This allows you to create an agent with your own defined functionality.
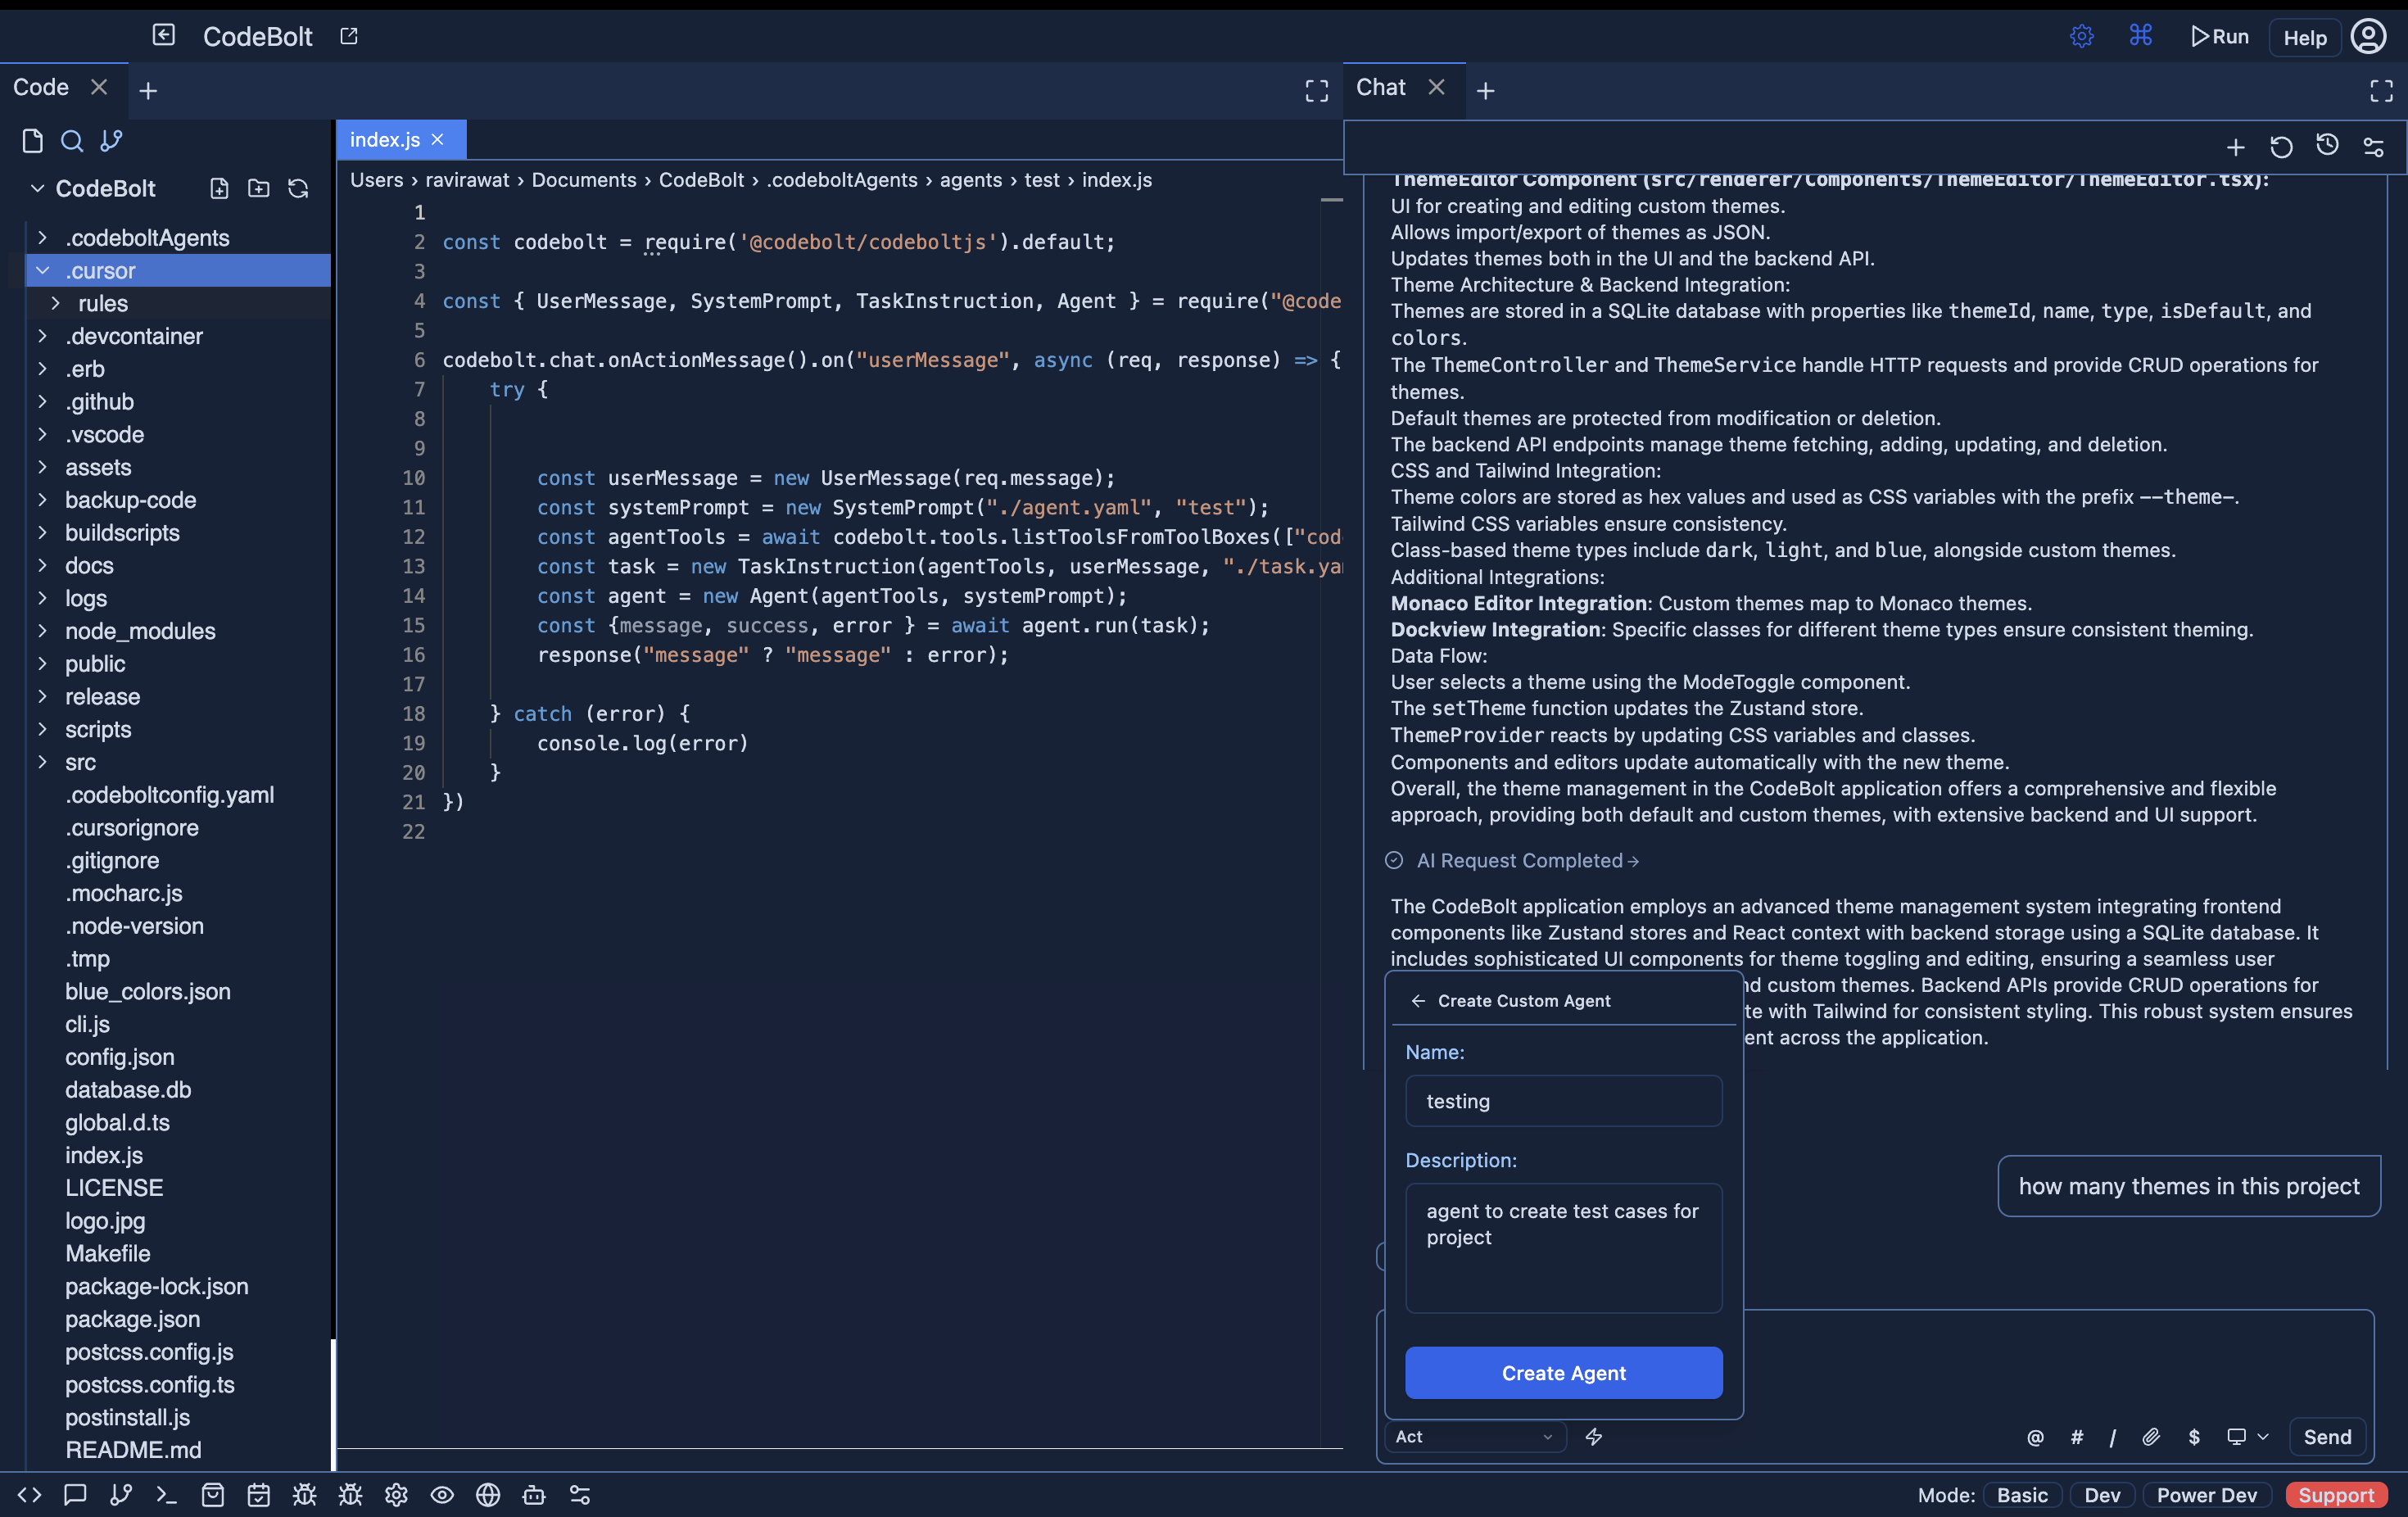
3. Configure Your Agent
Now it's time to set up the basic details for your agent:
- Name Your Agent: Enter a descriptive name that indicates the agent's purpose.
- Add a Description: Provide a brief description explaining what your agent does.
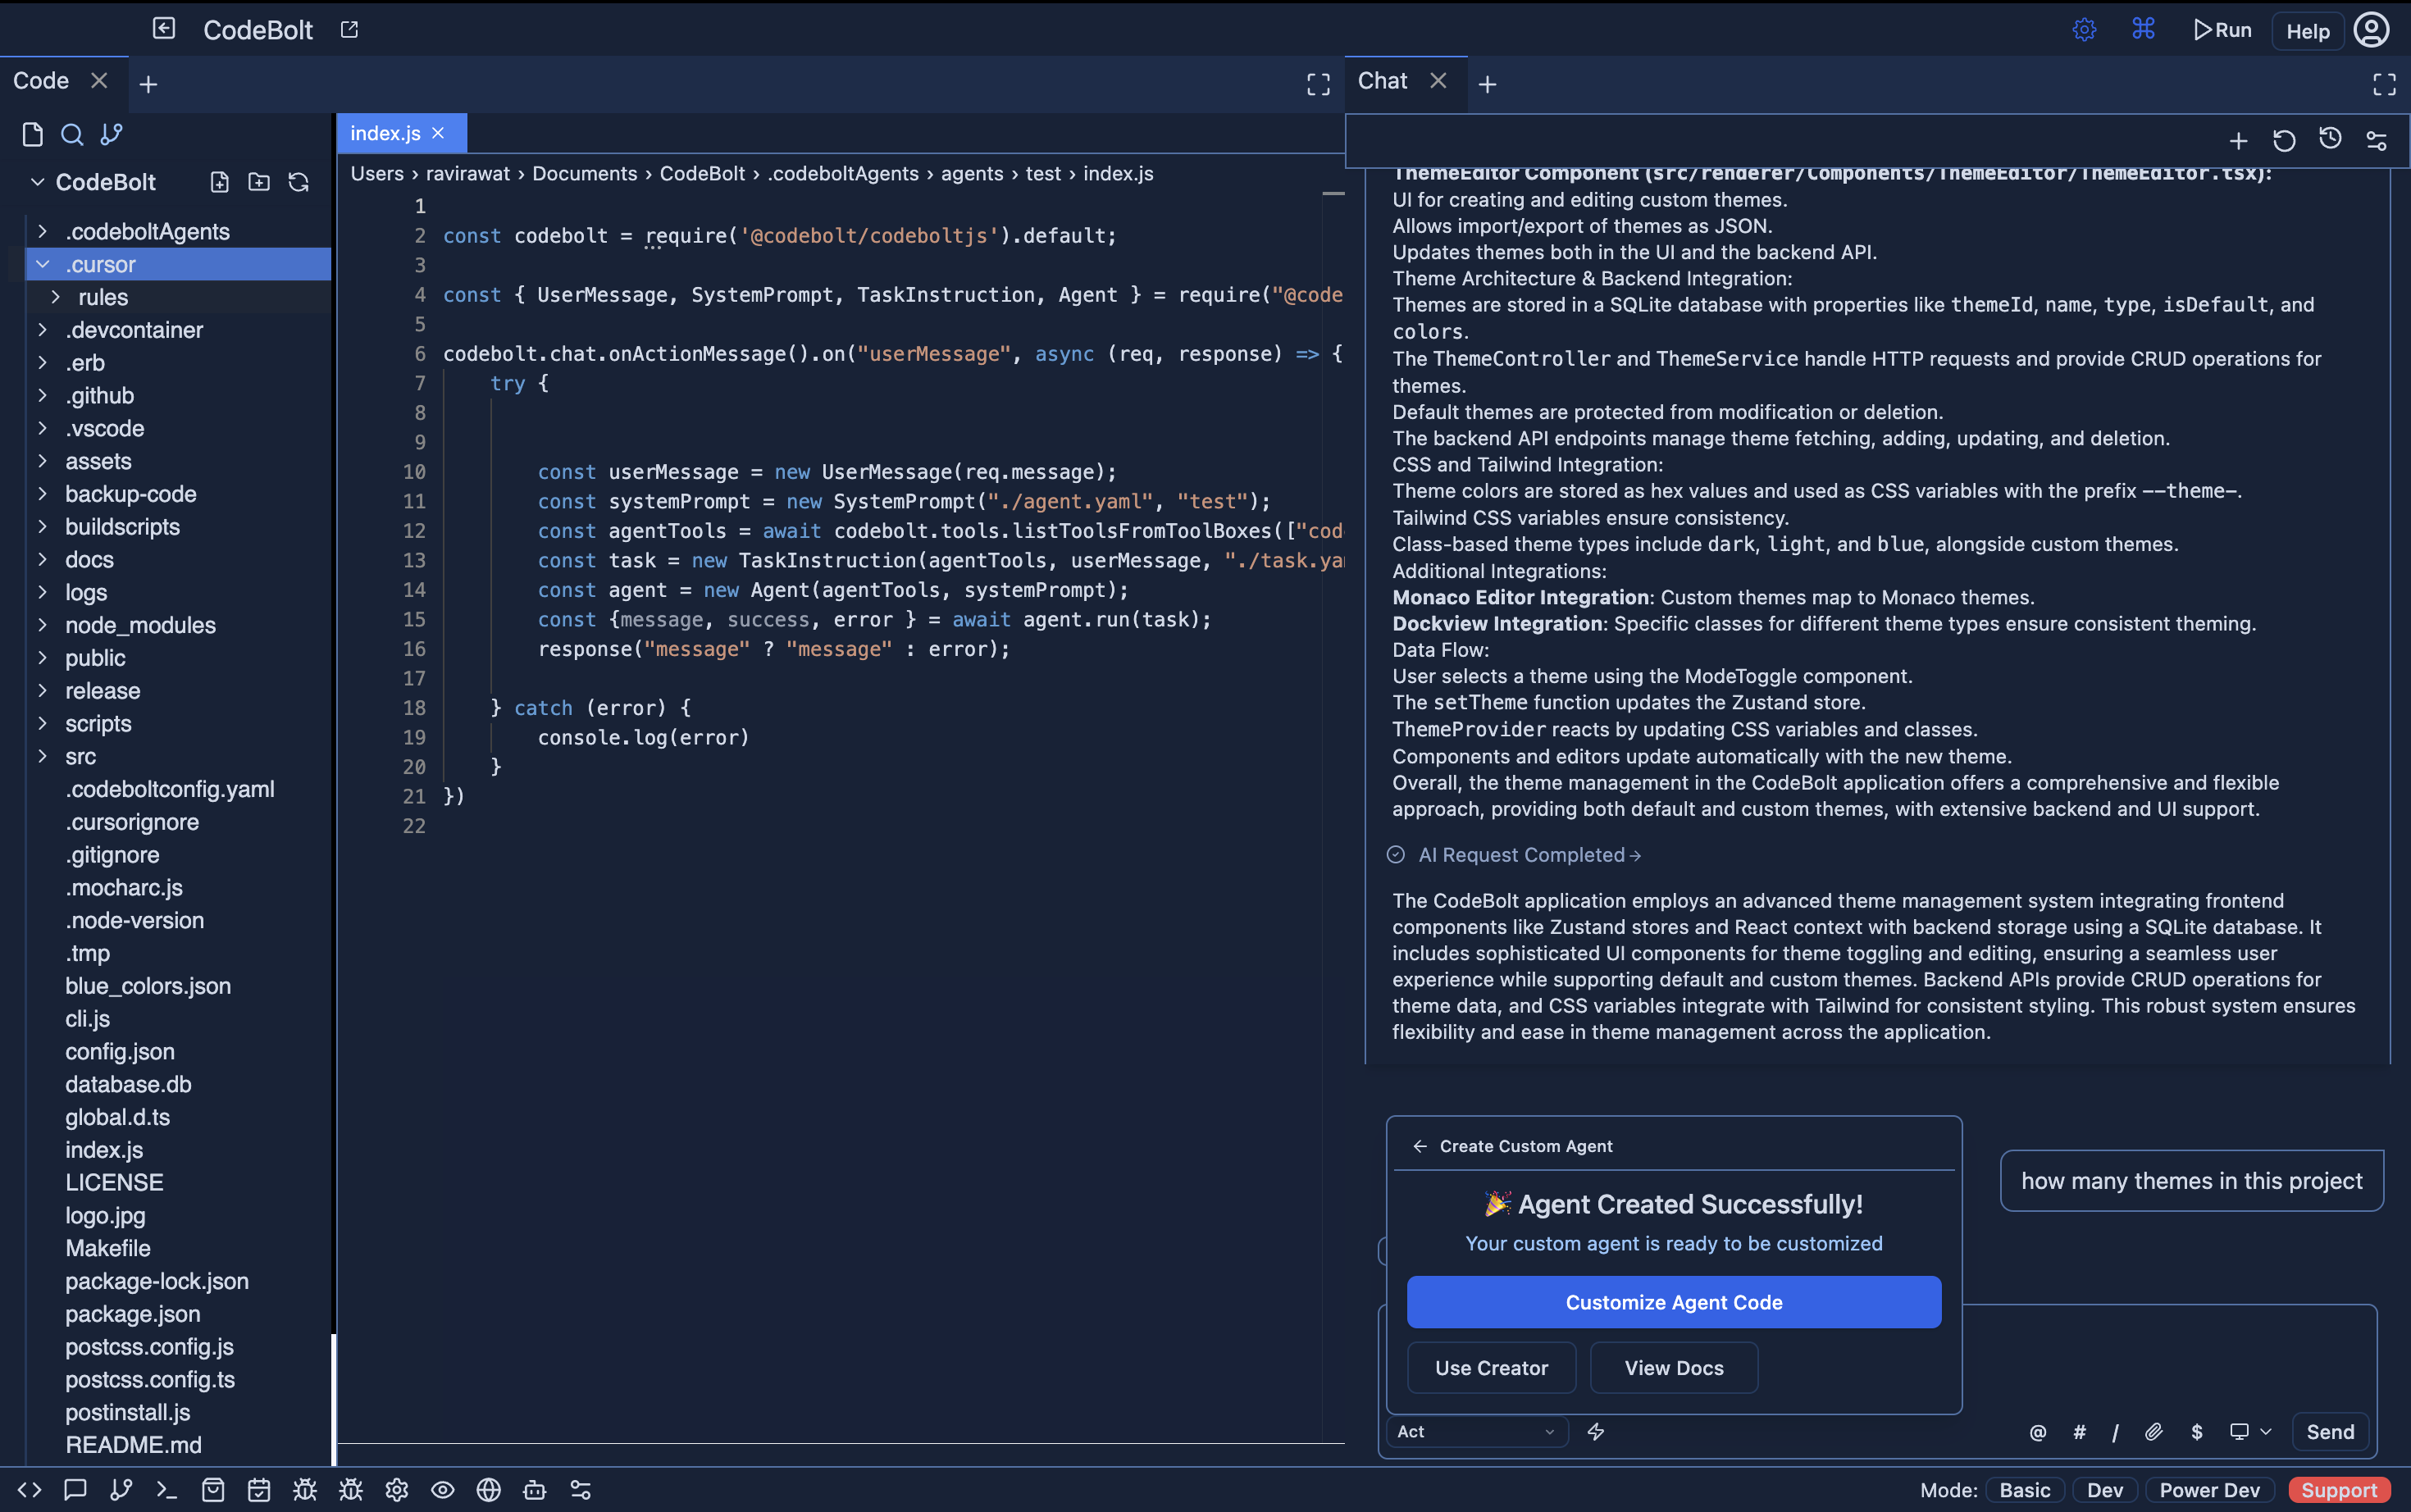
4. Creation Confirmation
After configuring your agent, the system will create the necessary files and structure:
- Success Message: You'll see a confirmation screen indicating that your agent has been successfully created.
5. Explore Generated Code
Codebolt will generate a starter code structure for your agent:
- Code Structure: Review the generated files. Typically, this includes:
- Main agent file with the core functionality
- Configuration files
- Dependencies and setup scripts
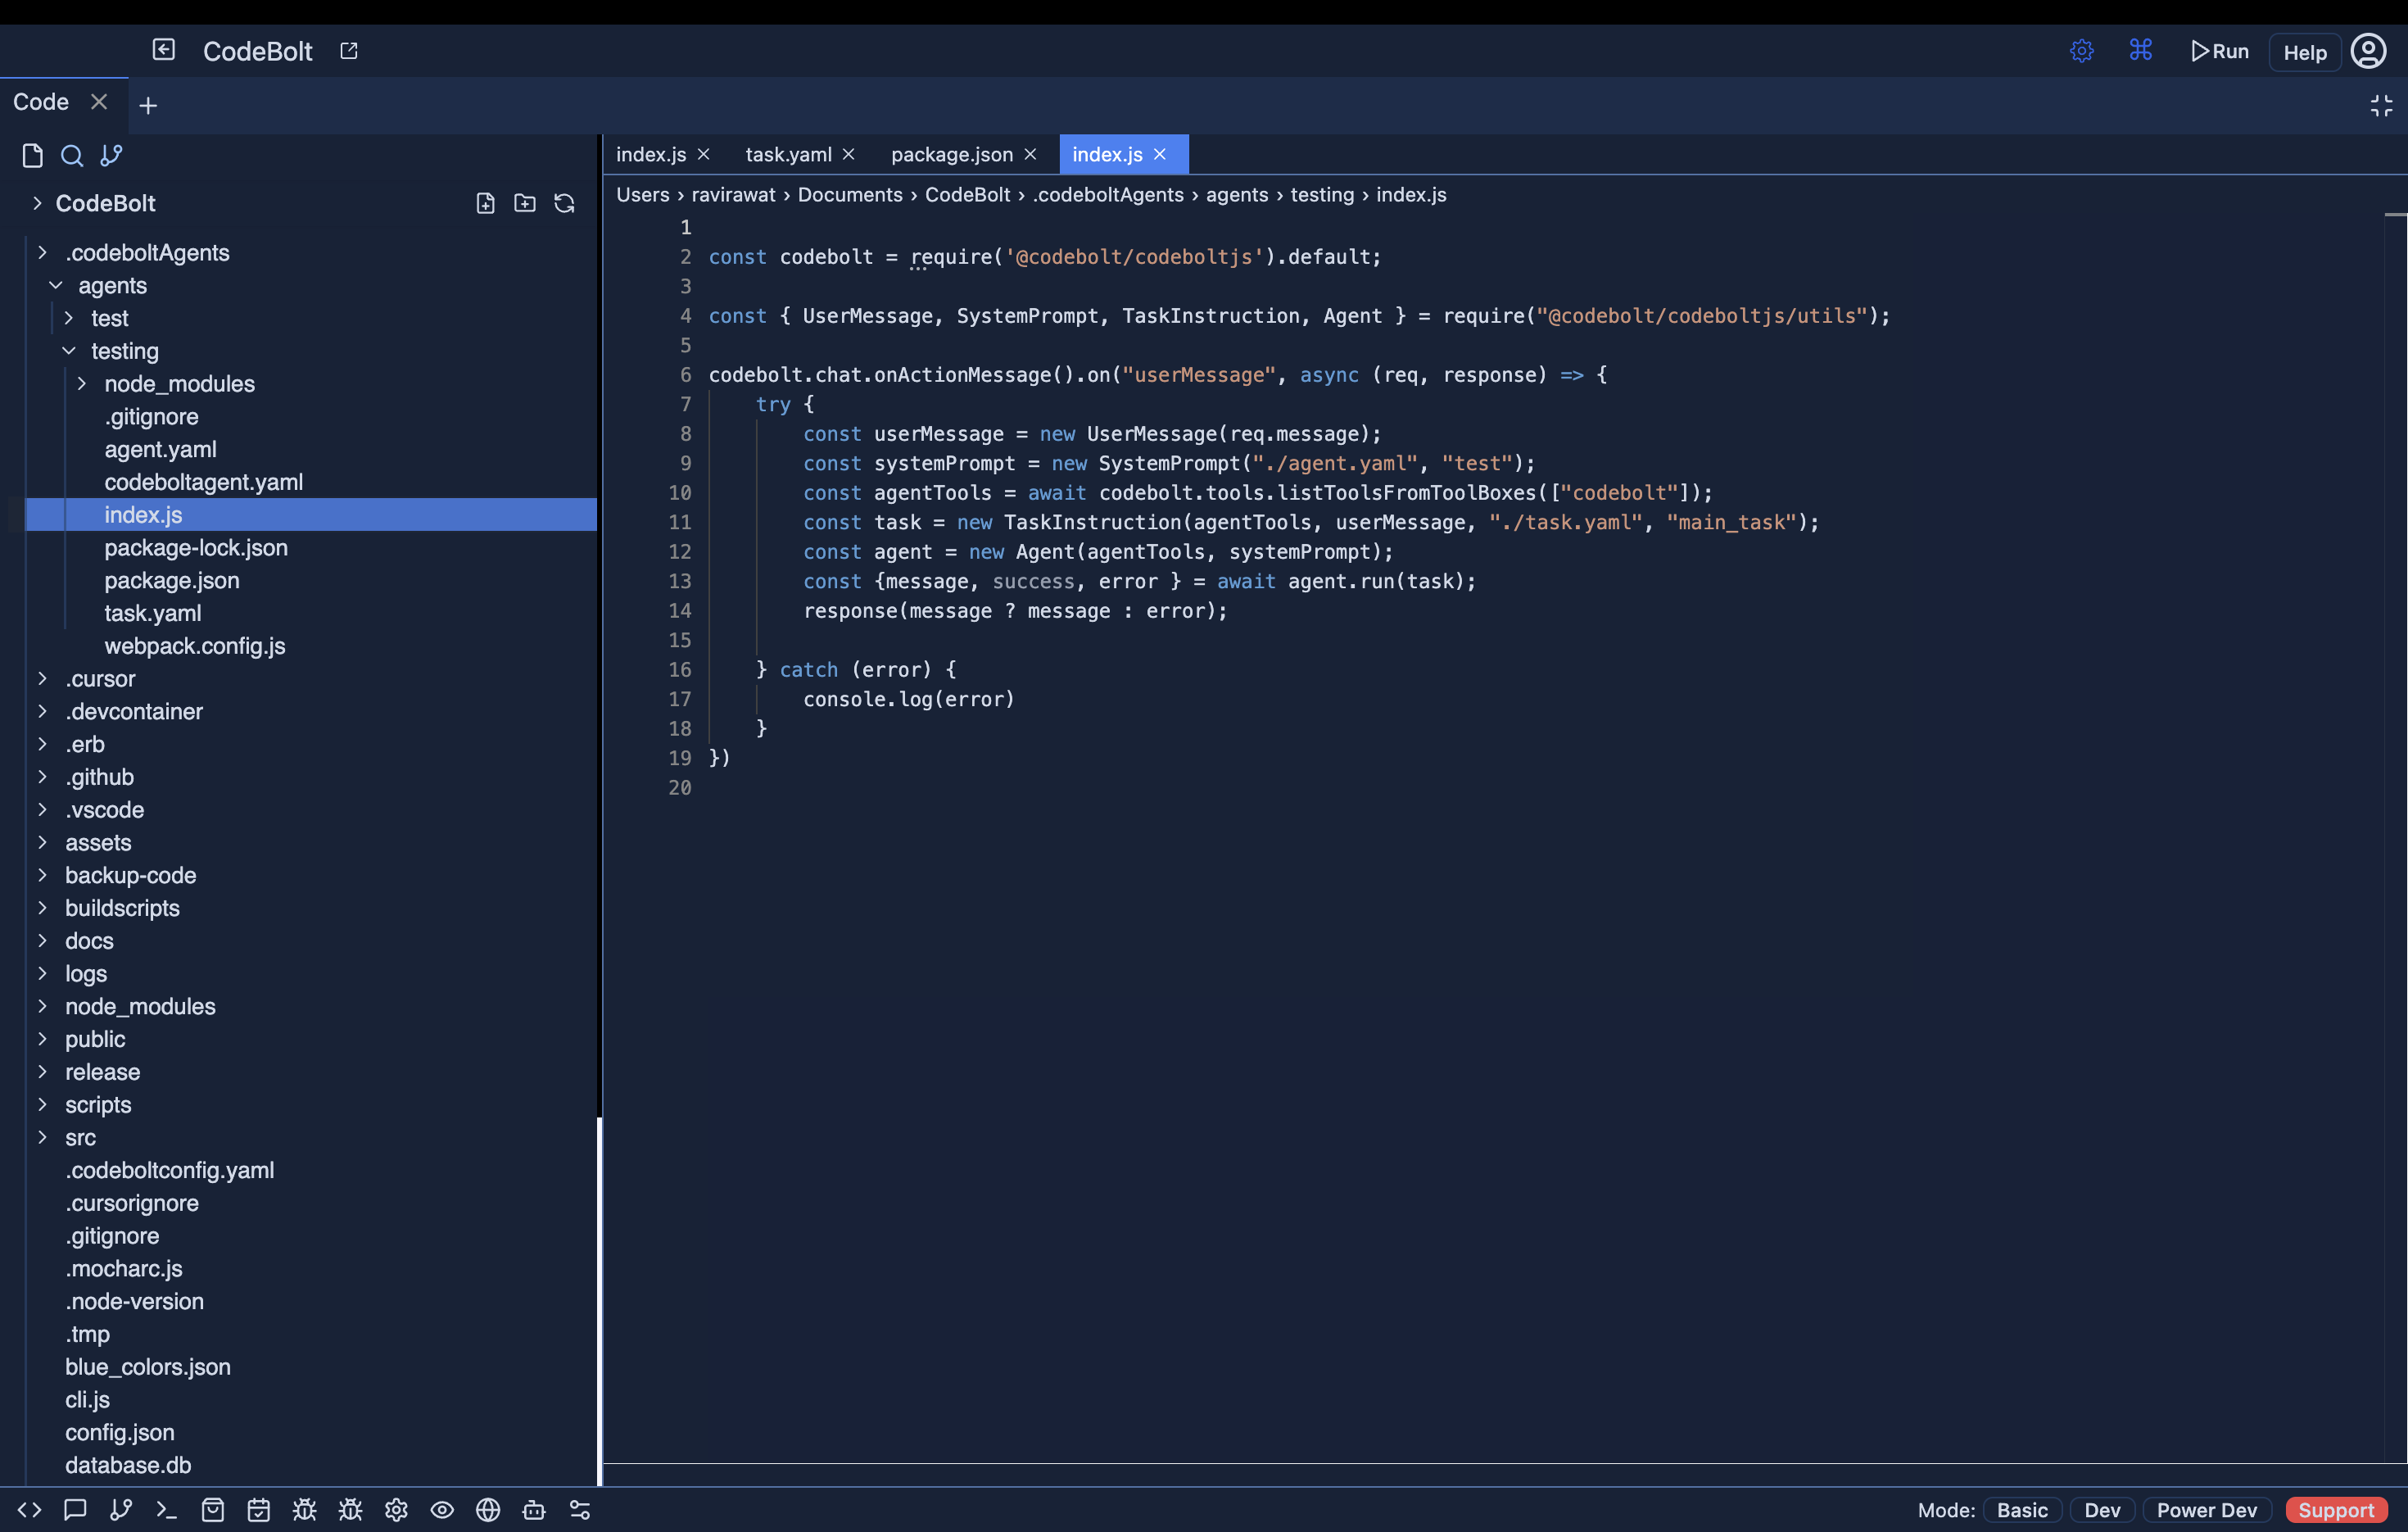
6. Understanding the Agent Structure
The generated code provides a foundation for your custom agent with the following key components:
- Main Agent File: Contains the core logic for your agent
- Configuration Settings: Defines how your agent interacts with Codebolt
- Tool Definitions: Specifies the capabilities of your agent
- API Integration: Enables your agent to communicate with external services
7. Customizing Your Agent
Now that your agent is created, you can start customizing it:
- Modify the Agent Logic: Update the generated code to implement your desired functionality
- Add Custom Tools: Define additional tools that your agent can use
- Configure Settings: Adjust the configuration to meet your specific requirements
- Implement API Calls: Add code to connect with external services or APIs if needed
8. Testing Your Agent
Before finalizing your agent, it's important to test it:
- Run the Agent Locally: Use the Codebolt testing environment to run your agent
- Debug Issues: Check for any errors or unexpected behavior
- Refine Functionality: Make adjustments based on testing results
9. Deploying Your Agent
Once your agent is working as expected, you can deploy it:
- Build Your Agent: Compile the final version of your agent
- Register in Codebolt: Add your agent to the Codebolt registry
- Share with Others: Optionally, share your agent with the Codebolt community
Next Steps
After creating your first agent, consider:
- Exploring advanced agent features
- Creating agents for specific workflows or tasks
- Learning about agent collaboration and chaining
- Contributing to the Codebolt agent ecosystem
By following this guide, you've successfully created your first Codebolt agent. As you become more familiar with the platform, you can develop increasingly sophisticated agents to enhance your productivity and workflow.