Panels and Layout
Codebolt's desktop app is built around a small number of persistent panels. Understanding what each does makes the rest of the UI obvious.
The main panels
┌──────┬───────────────────────────────┬─────────┐
│      │                               │         │
│  P   │           E                   │    C    │
│      │                               │         │
│      ├───────────────────────────────┤         │
│      │           T                   │         │
├──────┴───────────────────────────────┴─────────┤
│                      S                         │
└────────────────────────────────────────────────┘

P = Project panel        (left)
E = Editor               (centre top)
T = Terminal / output    (centre bottom)
C = Chat panel           (right)
S = Status bar           (bottom)
Each panel can be resized, collapsed, or detached into its own window.
Project panel (left)
The left rail. Contains:
- File tree — your project's files. Right-click for context actions.
- Codebase search — full-text search across the project.
- Codemap entry — open the architectural summary the agent sees.
- Git — status, staged changes, commit, branch switching.
- Checkpoints — timeline of shadow-git checkpoints. See Checkpoints.
- Agents panel — running agents, background agents, agent history.
- Tools panel — installed MCP servers and their health.
Switch between these with the icons at the top of the rail, or use Ctrl+1 through Ctrl+8.
Editor (centre top)
Standard code editor. What you'd expect:
- Tabs for open files.
- Syntax highlighting, folding, minimap.
- LSP integration — definitions, references, hover info, diagnostics.
- Quick fix menu for LSP actions.
- Ctrl+K for inline edits (see Inline edit).
What's different from a vanilla editor:
- Agents can modify what's open. When an agent writes to a file you have open, the editor updates live. A marker shows agent-modified regions.
- Checkpoint markers in the gutter show where agents made changes and let you view diffs inline.
- Codemap highlights — the agent's "hot" files are subtly marked in the tree so you can see what it's been working on.
Codebolt is not trying to be a full IDE. It integrates with LSP and a core set of editing features, but for heavy editing work many users still use their preferred editor side-by-side. Shadow git means changes show up in both.
Terminal / output (centre bottom)
A tabbed pty panel. Each tab is a shell in the project directory. You can run commands, see their output, and Ctrl+C interrupt.
Beyond raw shell:
- Agent output tabs — when an agent runs a shell command via
codebolt_fs.execute_commandor similar, you can follow the output live in a pty tab. - Diagnostics tab — consolidated view of LSP diagnostics, lint output, and agent-emitted problems.
- Flow run tabs — when a multi-agent flow runs, its live view appears here.
Chat panel (right)
Where you talk to agents. Covered in detail at Chat Overview. Key points for the layout:
- Tabs across the top — each a separate thread.
- Composer at the bottom — where you type.
- Checkpoint strip — above the composer, showing recent checkpoints for this thread.
- Agent/model pickers — top of the current tab.
The chat panel is the thing most users have open all the time. You can detach it to a second monitor with View → Detach chat.
Status bar (bottom)
Thin strip at the bottom with live status:
- Server connection — ok / connecting / error.
- Active provider — which LLM provider is being hit right now.
- Running agents — count + click-through to the Agents panel.
- Token usage — cumulative for the current project today.
- Diagnostics — errors / warnings count.
- Git branch — current branch + dirty indicator.
- Shadow git state — last checkpoint timestamp.
Click any element for its detail view.
Resizing and detaching
Every main panel can be:
- Resized — drag the border.
- Collapsed — click the chevron at the panel header.
- Detached — right-click the panel title → "Detach to new window".
Detached panels are independent windows backed by the same server. Detach the chat panel to a second monitor while you edit on the primary.
Command palette
Ctrl+Shift+P opens the command palette. Fuzzy-search any command:
- "open file…"
- "new chat tab…"
- "run agent…"
- "switch agent…"
- "rollback checkpoint…"
- "toggle panel…"
Covers almost every action in the app. If you don't know how to do something, open the palette and type it.
Layouts and presets
View → Layout has several presets:
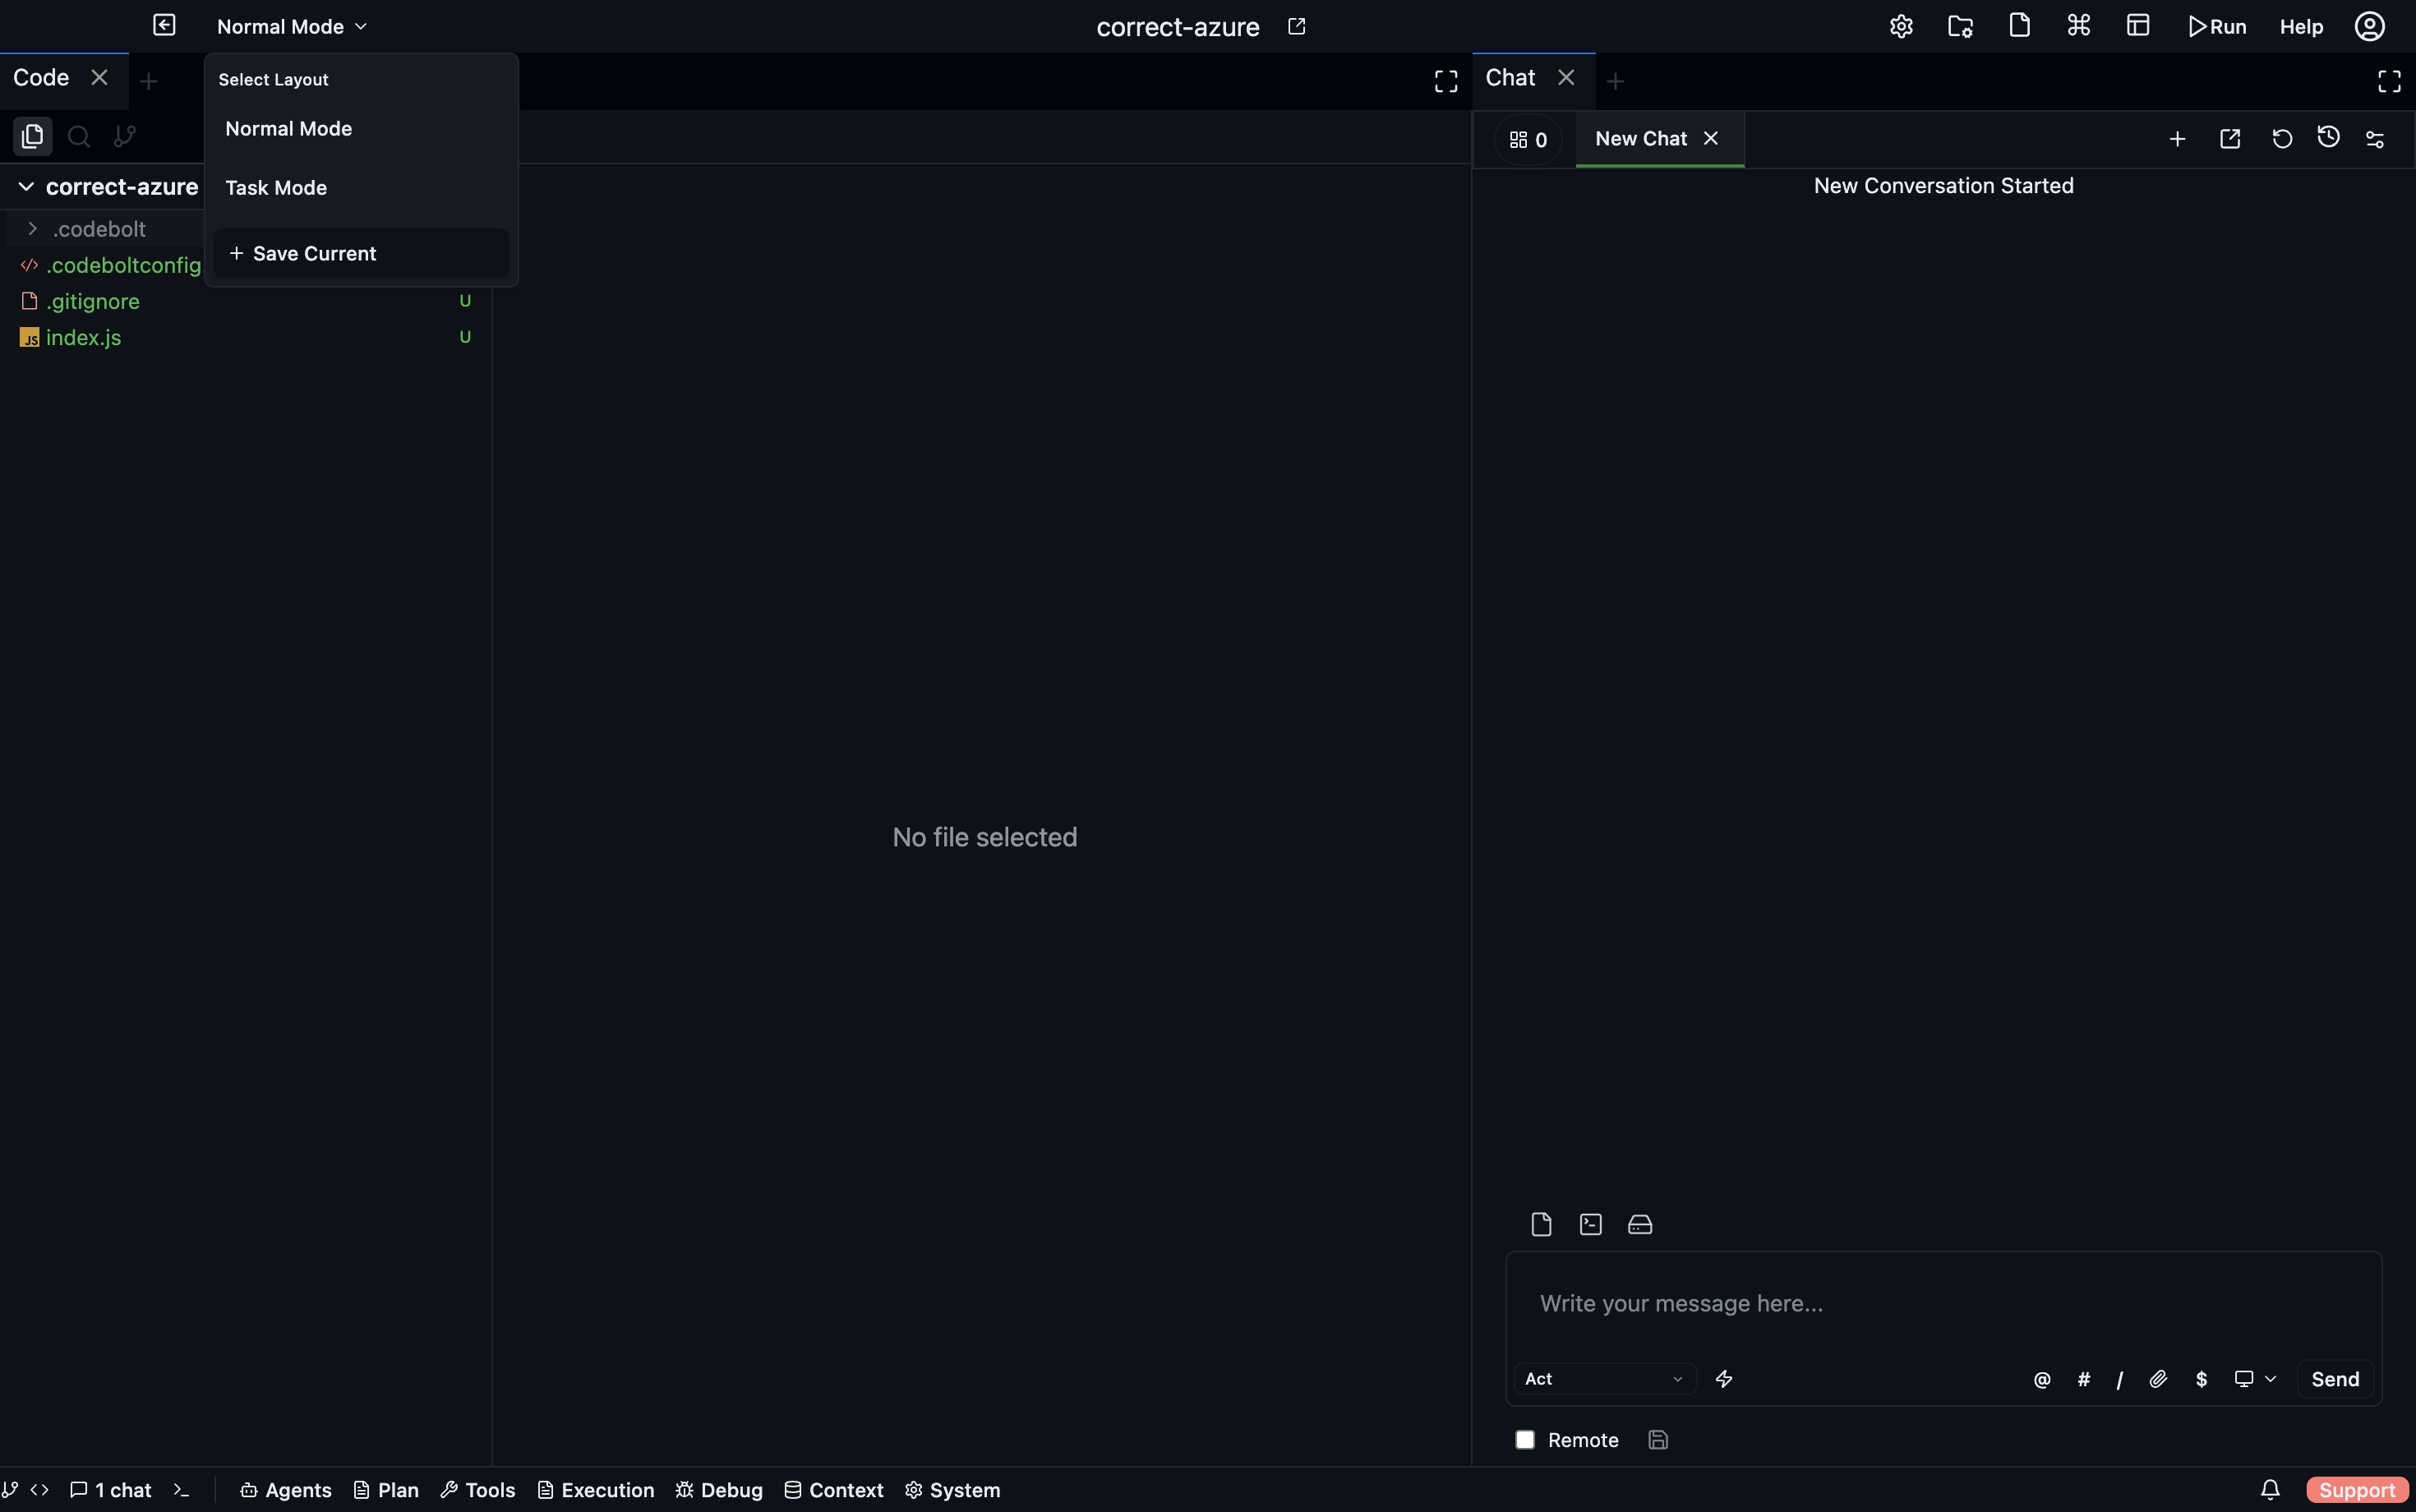
- Normal Mode — all panels visible, the default working layout.
- Task Mode — focused layout for task-oriented workflows.
- + Save Current — save your current panel arrangement as a custom layout.
- Focus mode — chat only, other panels hidden.
- Editor mode — editor fills the centre, chat on the side, no terminal.
- Agent mode — agents panel + chat + terminal; editor hidden.
- Custom — save your own layout.
Switching layouts preserves the state of every panel; they're just hidden, not closed.
Themes
Settings → Appearance → Theme. Ships with several themes, plus a "follow system" option. Custom themes can be installed from the marketplace.
Keyboard-first usage
Most of the UI has a shortcut. Useful defaults:
| Shortcut | Action |
|---|---|
| Ctrl+P | Quick file open |
| Ctrl+Shift+P | Command palette |
| Ctrl+` | Toggle terminal |
| Ctrl+B | Toggle project panel |
| Ctrl+J | Toggle chat panel |
| Ctrl+N | New chat tab |
| Ctrl+Enter | Send chat message |
| Ctrl+K | Inline edit |
| Esc | Stop current agent turn |
| F5 | Re-run last agent |
Customize all of these in Settings → Keyboard Shortcuts.
What the TUI looks like
If you're using the TUI instead of the desktop app, the layout is not the same docked panel grid as the desktop surface.
The current TUI is organized around four top-level tabs:
- Chat
- Logs
- Git
- Files
Within the Chat tab, additional context appears through sidebars and dialogs rather than separate desktop-style panels. See TUI → Tabs, Panels, and Layout Modes and TUI → Navigation and Keybindings.