Requirement Plan
A Requirement Plan is an aggregation document. It doesn't have its own content format — instead it pulls together other planning artifacts (Specs, UI Flows, Action Plans) alongside free-form Markdown into one structured document.
Use it when you want a single place that answers: "what are we building, how should it look, and how are we going to build it?"
Creating a requirement plan
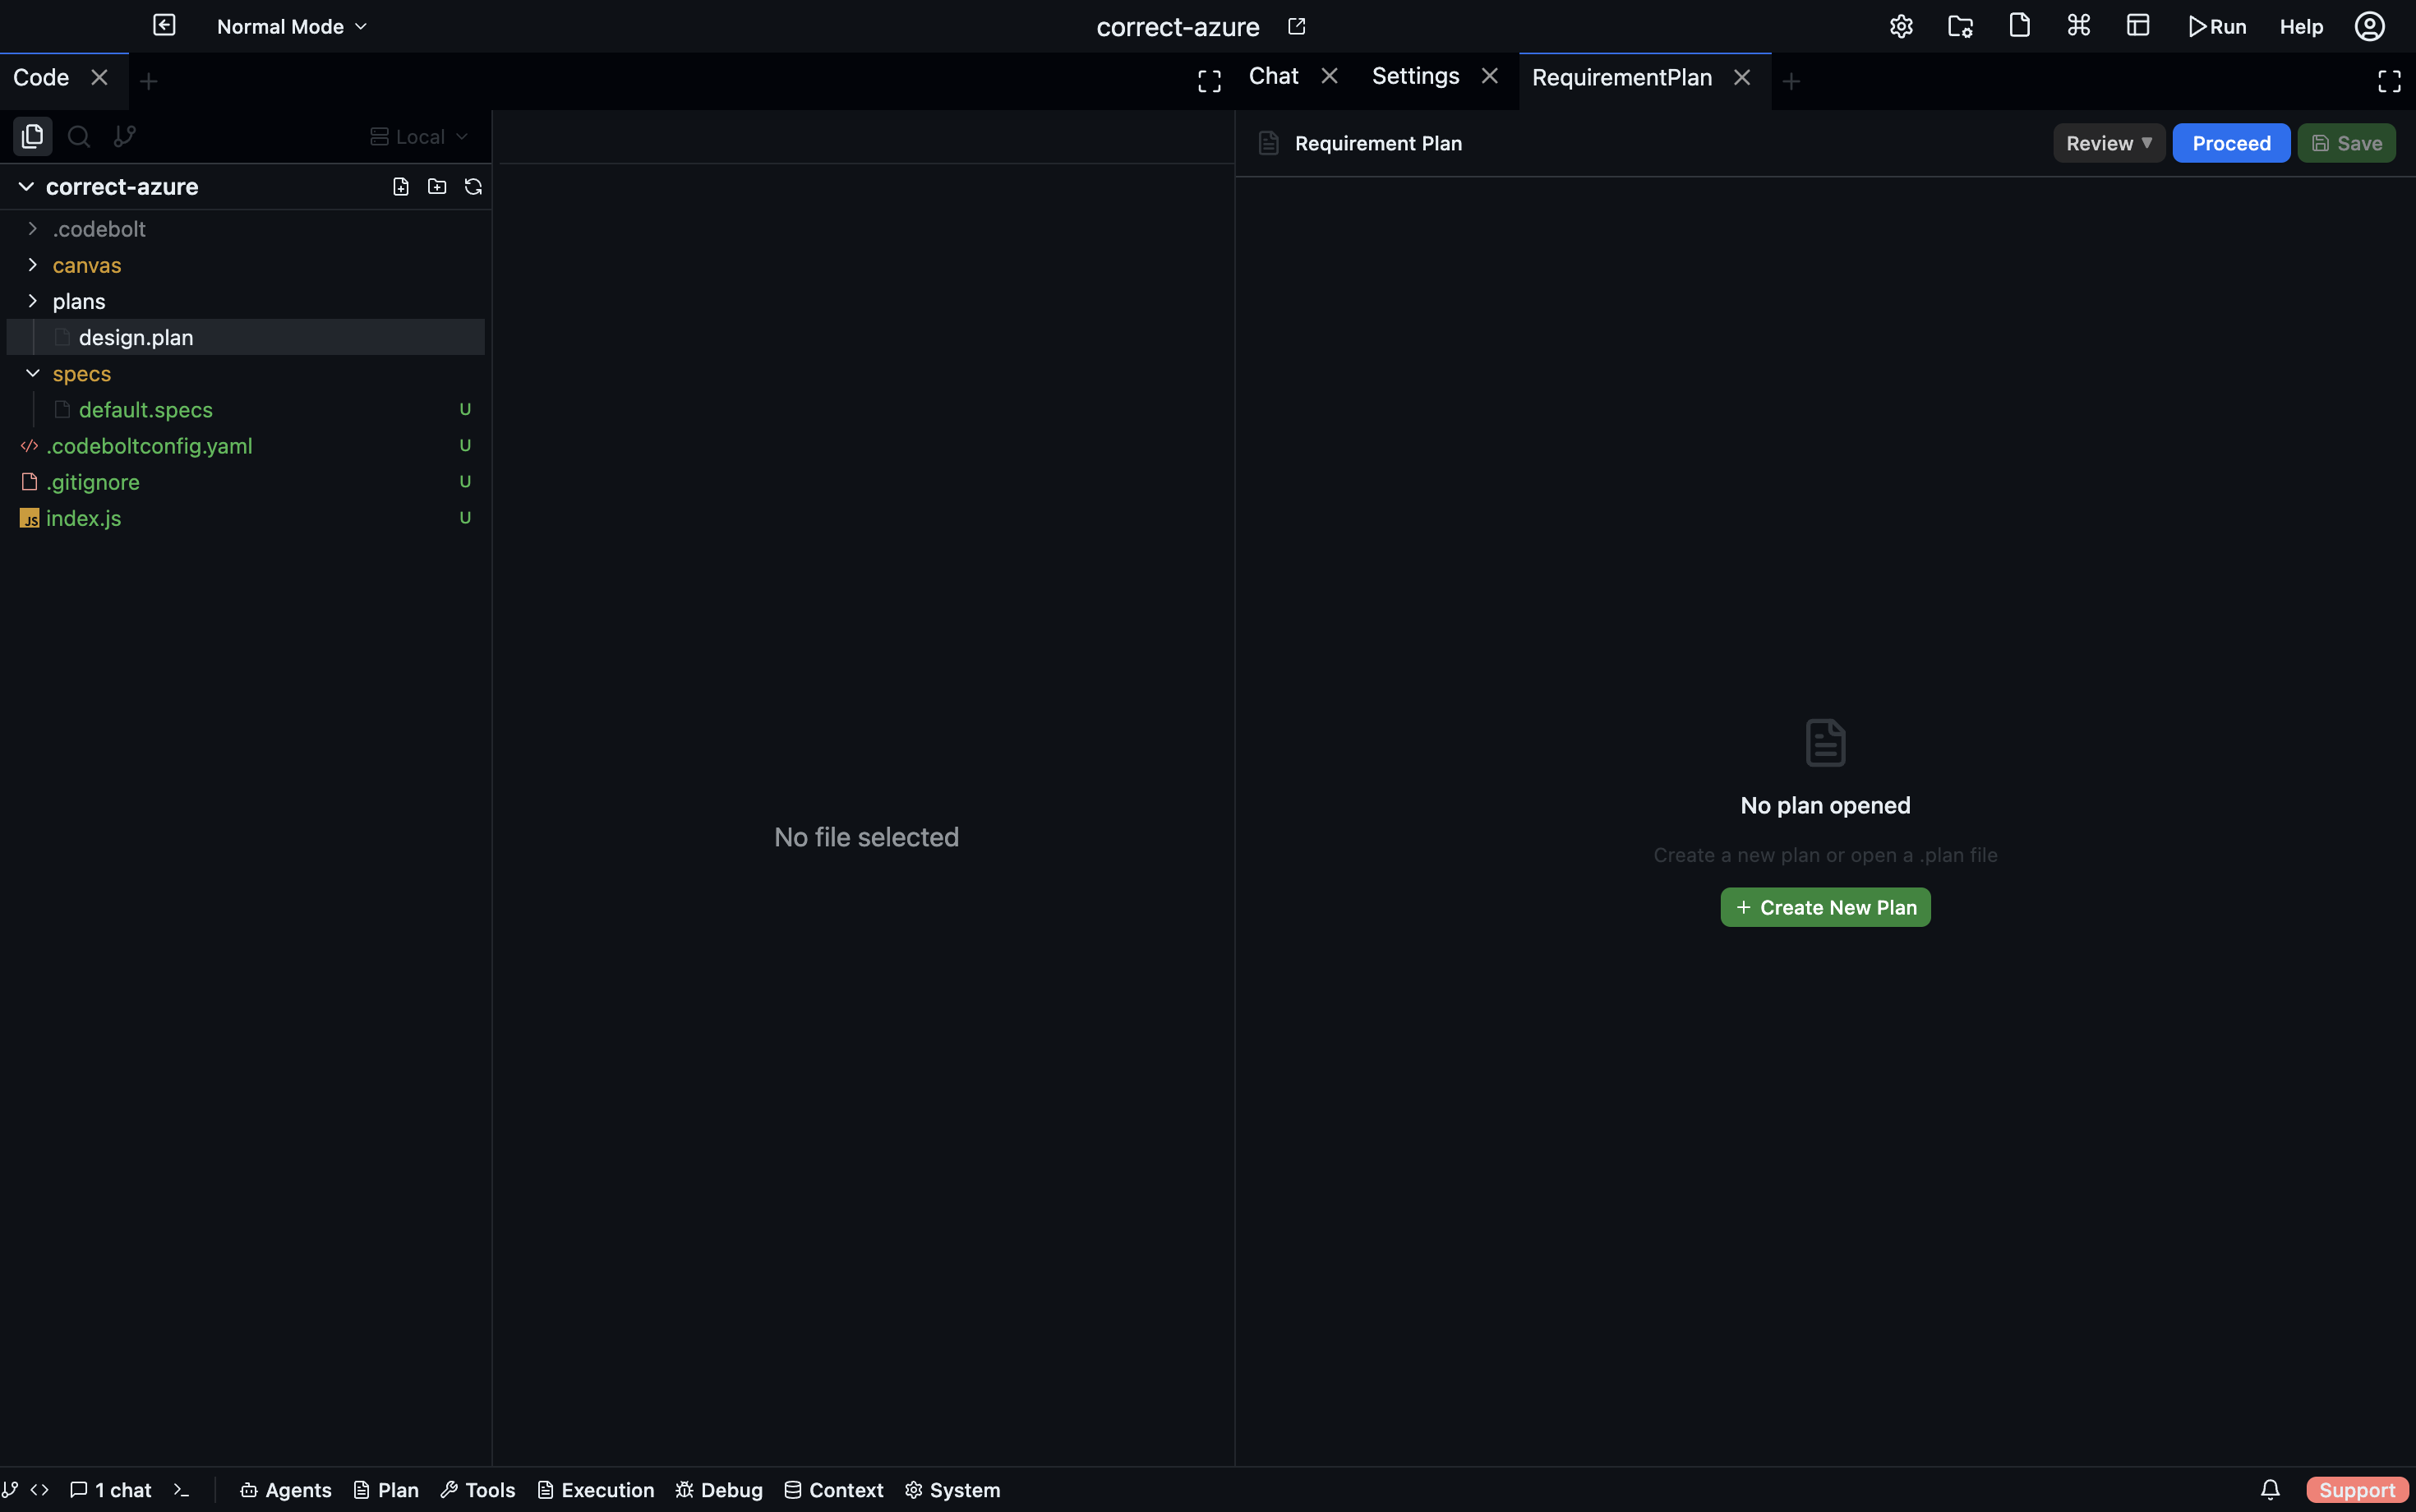
Open the Requirement Plans panel and click New Plan. Give it a title. The plan opens with an empty section list.
Plans are stored in plans/<filename>.plan in your project root.
Sections
A Requirement Plan is made of sections. Each section has a type:
| Type | What you add |
|---|---|
| Markdown | Free-form text, headings, lists, code blocks |
| Specs link | Embeds a Spec document from specs/ |
| UI Flow link | Embeds a UI Flow canvas |
| Action Plan link | Embeds an Action Plan |
| Code block | Standalone fenced code snippet |
Click + Add Section, choose the type, and fill in the content or select the artifact to link.
Reordering sections
Drag sections by their handle to reorder them. The order is persisted automatically.
Linking an artifact
When you add a Specs link, UI Flow link, or Action Plan link section, a dropdown selector appears listing all artifacts of that type in the current project. Select the one you want to embed.
The linked artifact is rendered inline — readers see the spec content or the UI flow canvas without leaving the Requirement Plan.
Editing sections
Click a section's edit icon to open it in place. Markdown sections use a simple text editor. Linked sections show the current content of the artifact — to change the content, edit the source artifact directly.
Saving
Requirement Plans save when you click Save or when you navigate away. The file is written to plans/<filename>.plan as JSON.
Sharing with agents
You can reference a requirement plan in chat with @plans/my-feature.plan. The agent reads all linked sections — including the embedded Specs and Action Plans — and uses the full context.