Specs
Specs are technical specification documents. They live in your project's specs/ folder as .specs files — Markdown with MDX support, so you can use rich formatting, code blocks, tables, and embedded images.
Creating a spec
Open the Specs panel and click New Spec. Give it a filename (auth-flow.specs, data-model.specs, etc.). The spec opens in the editor immediately.
The editor
The Specs editor is a full-featured rich-text editor built on MDXEditor. It supports:
| Feature | How to use |
|---|---|
| Headings | #, ##, ### or the toolbar |
| Code blocks | Triple backtick with language tag (syntax-highlighted) |
| Tables | Toolbar or pipe syntax |
| Bold / italic | **bold**, _italic_, or toolbar |
| Links | Toolbar or [text](url) |
| Images | Drag-and-drop or paste |
| Frontmatter | YAML block at the top of the document |
Switch to Markdown view at any time if you prefer editing raw Markdown.
Inline comments
Highlight any section of text and click the comment icon to leave an inline comment. Comments appear as yellow highlights with a popover showing the author and timestamp. Use comments for:
- Questions about a design decision
- Flagging sections that need review
- Notes from agents on what they've implemented (or what diverges from the spec)
Saving
Specs are saved automatically as you type. The file is written to specs/<filename>.specs in your project root.
Using specs with agents
You can reference a spec in a chat message using @specs/auth-flow.specs. The agent reads the spec and uses it as context. Agents can also write or update specs directly:
// Read a spec
const content = await codebolt.specs.get('auth-flow.specs');

// Update a spec
await codebolt.specs.update('auth-flow.specs', updatedContent);
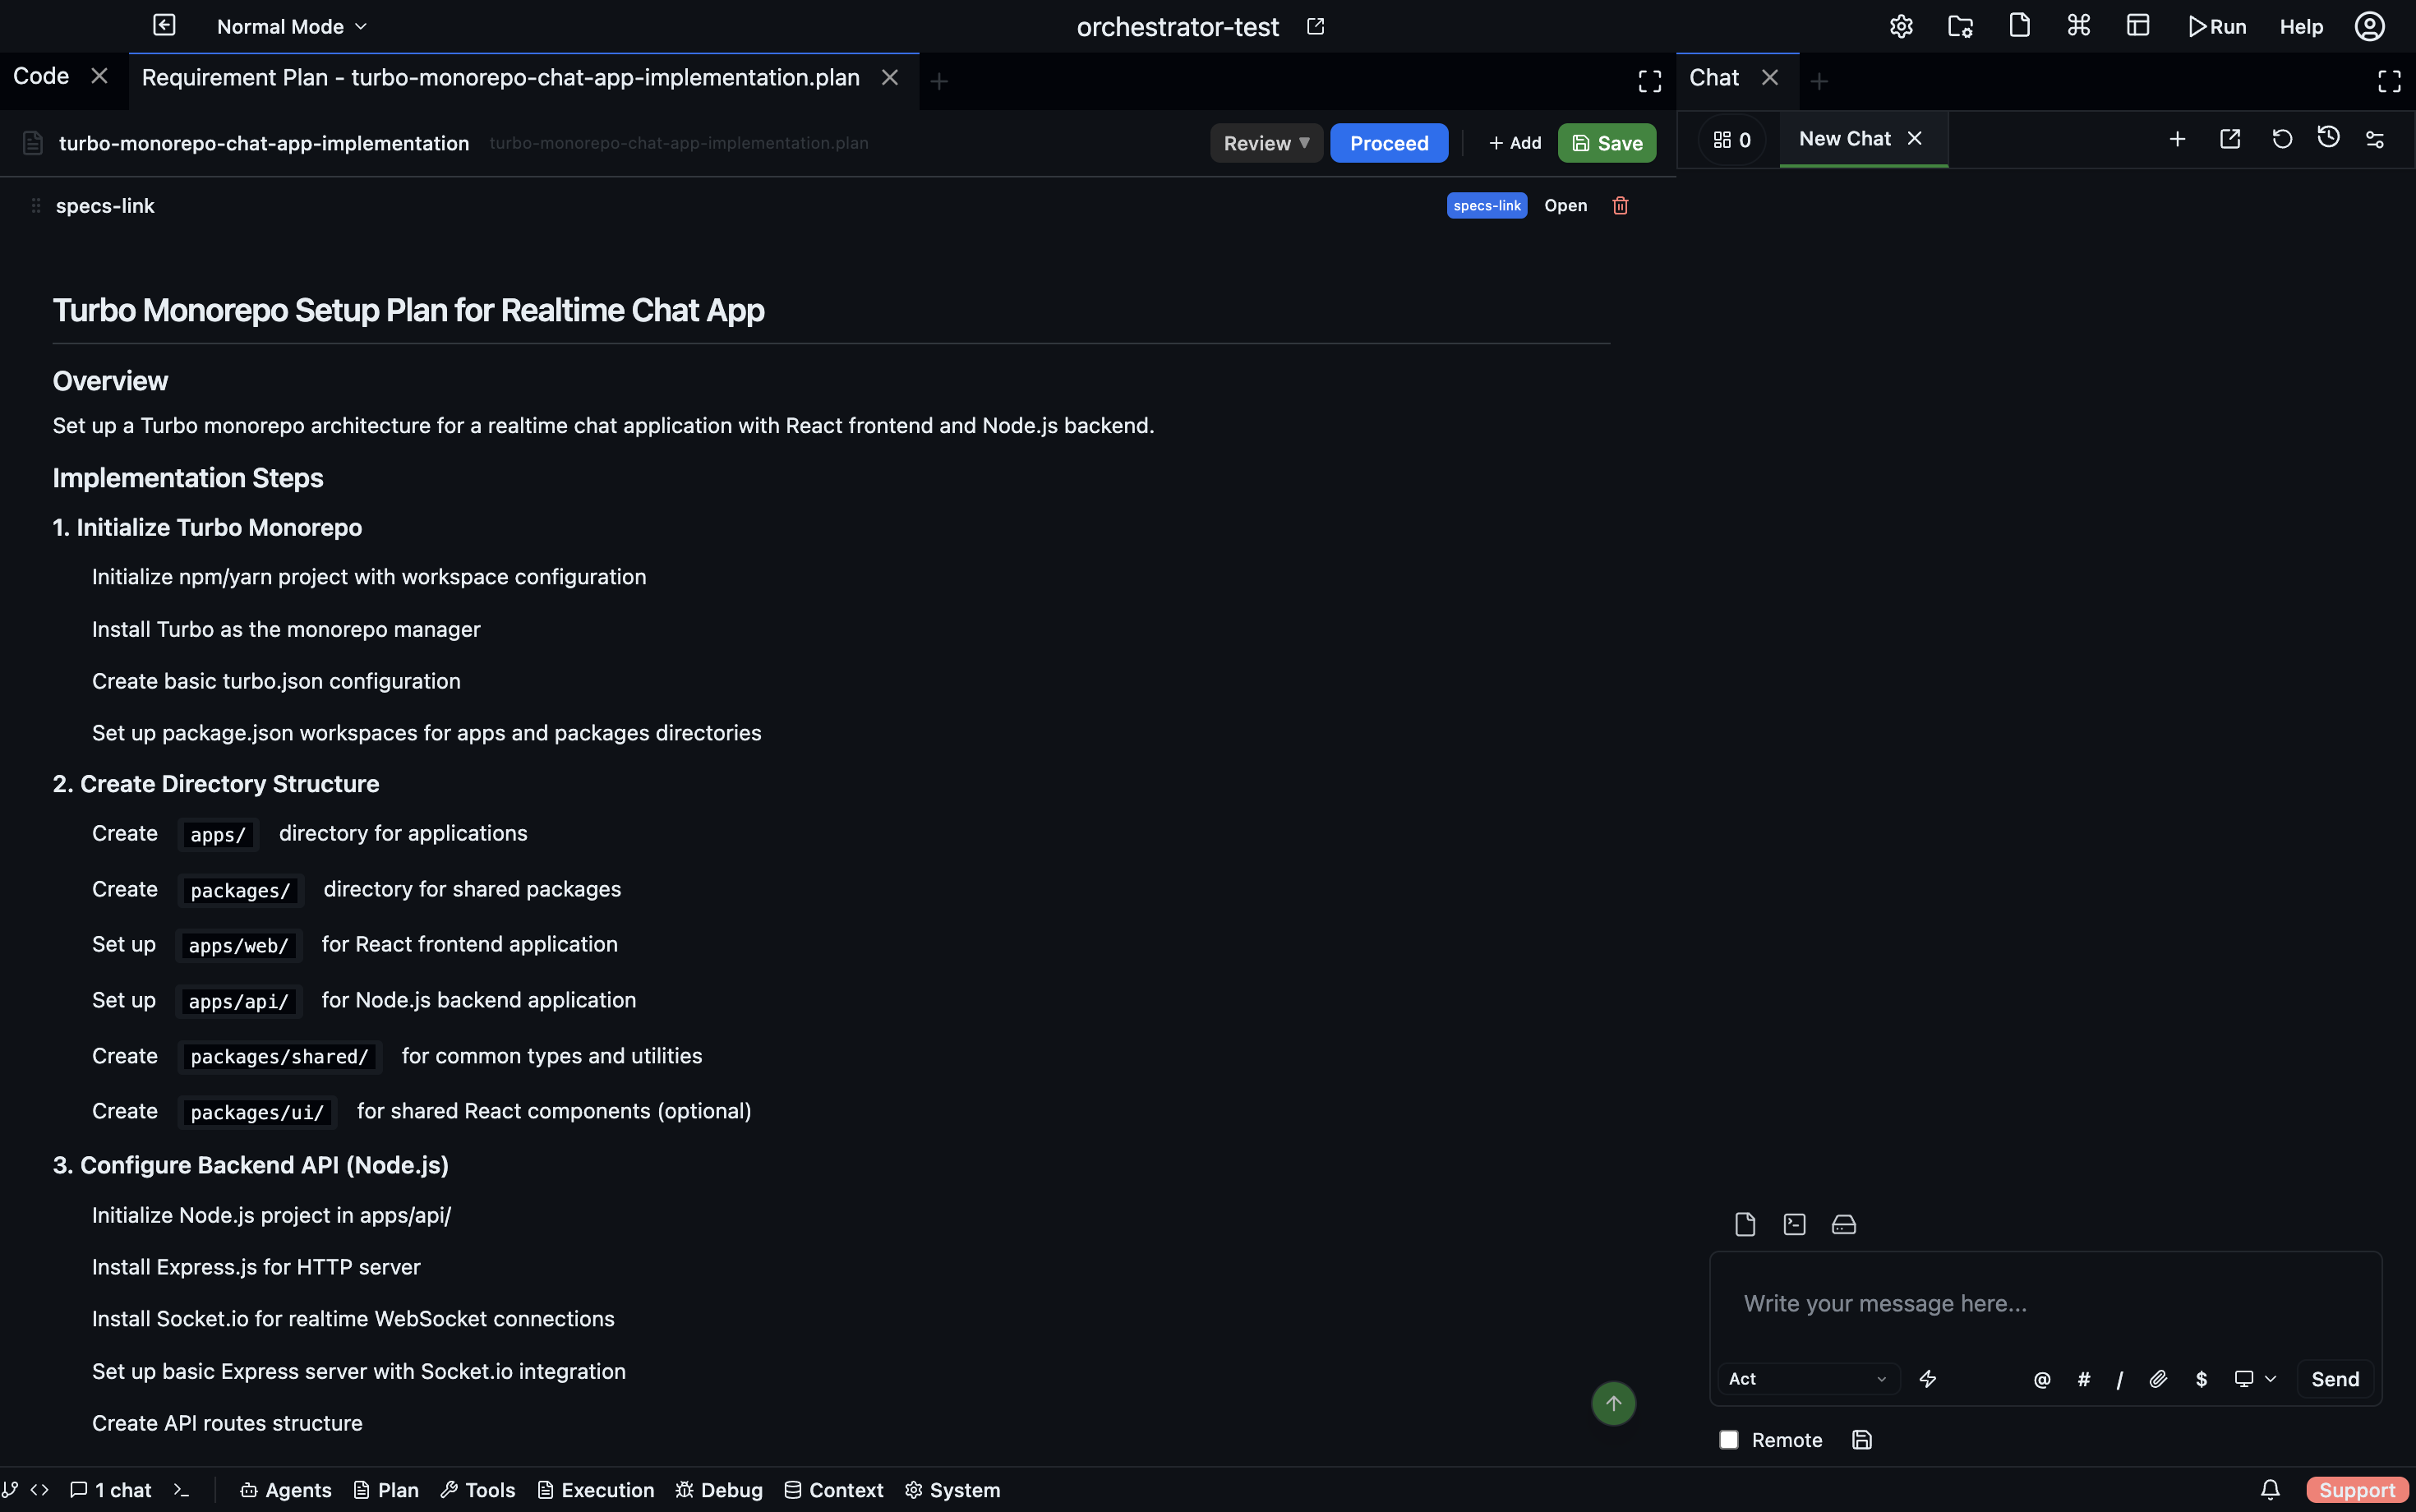
Linking specs into a Requirement Plan
Specs can be embedded as sections in a Requirement Plan. This lets you pull multiple specs together into a single document alongside action plans and UI flows.
See also
- Requirement Plan — aggregate multiple specs into one document
- UI Flow — visual designs to accompany written specs