Appearance & Global Settings
Appearance
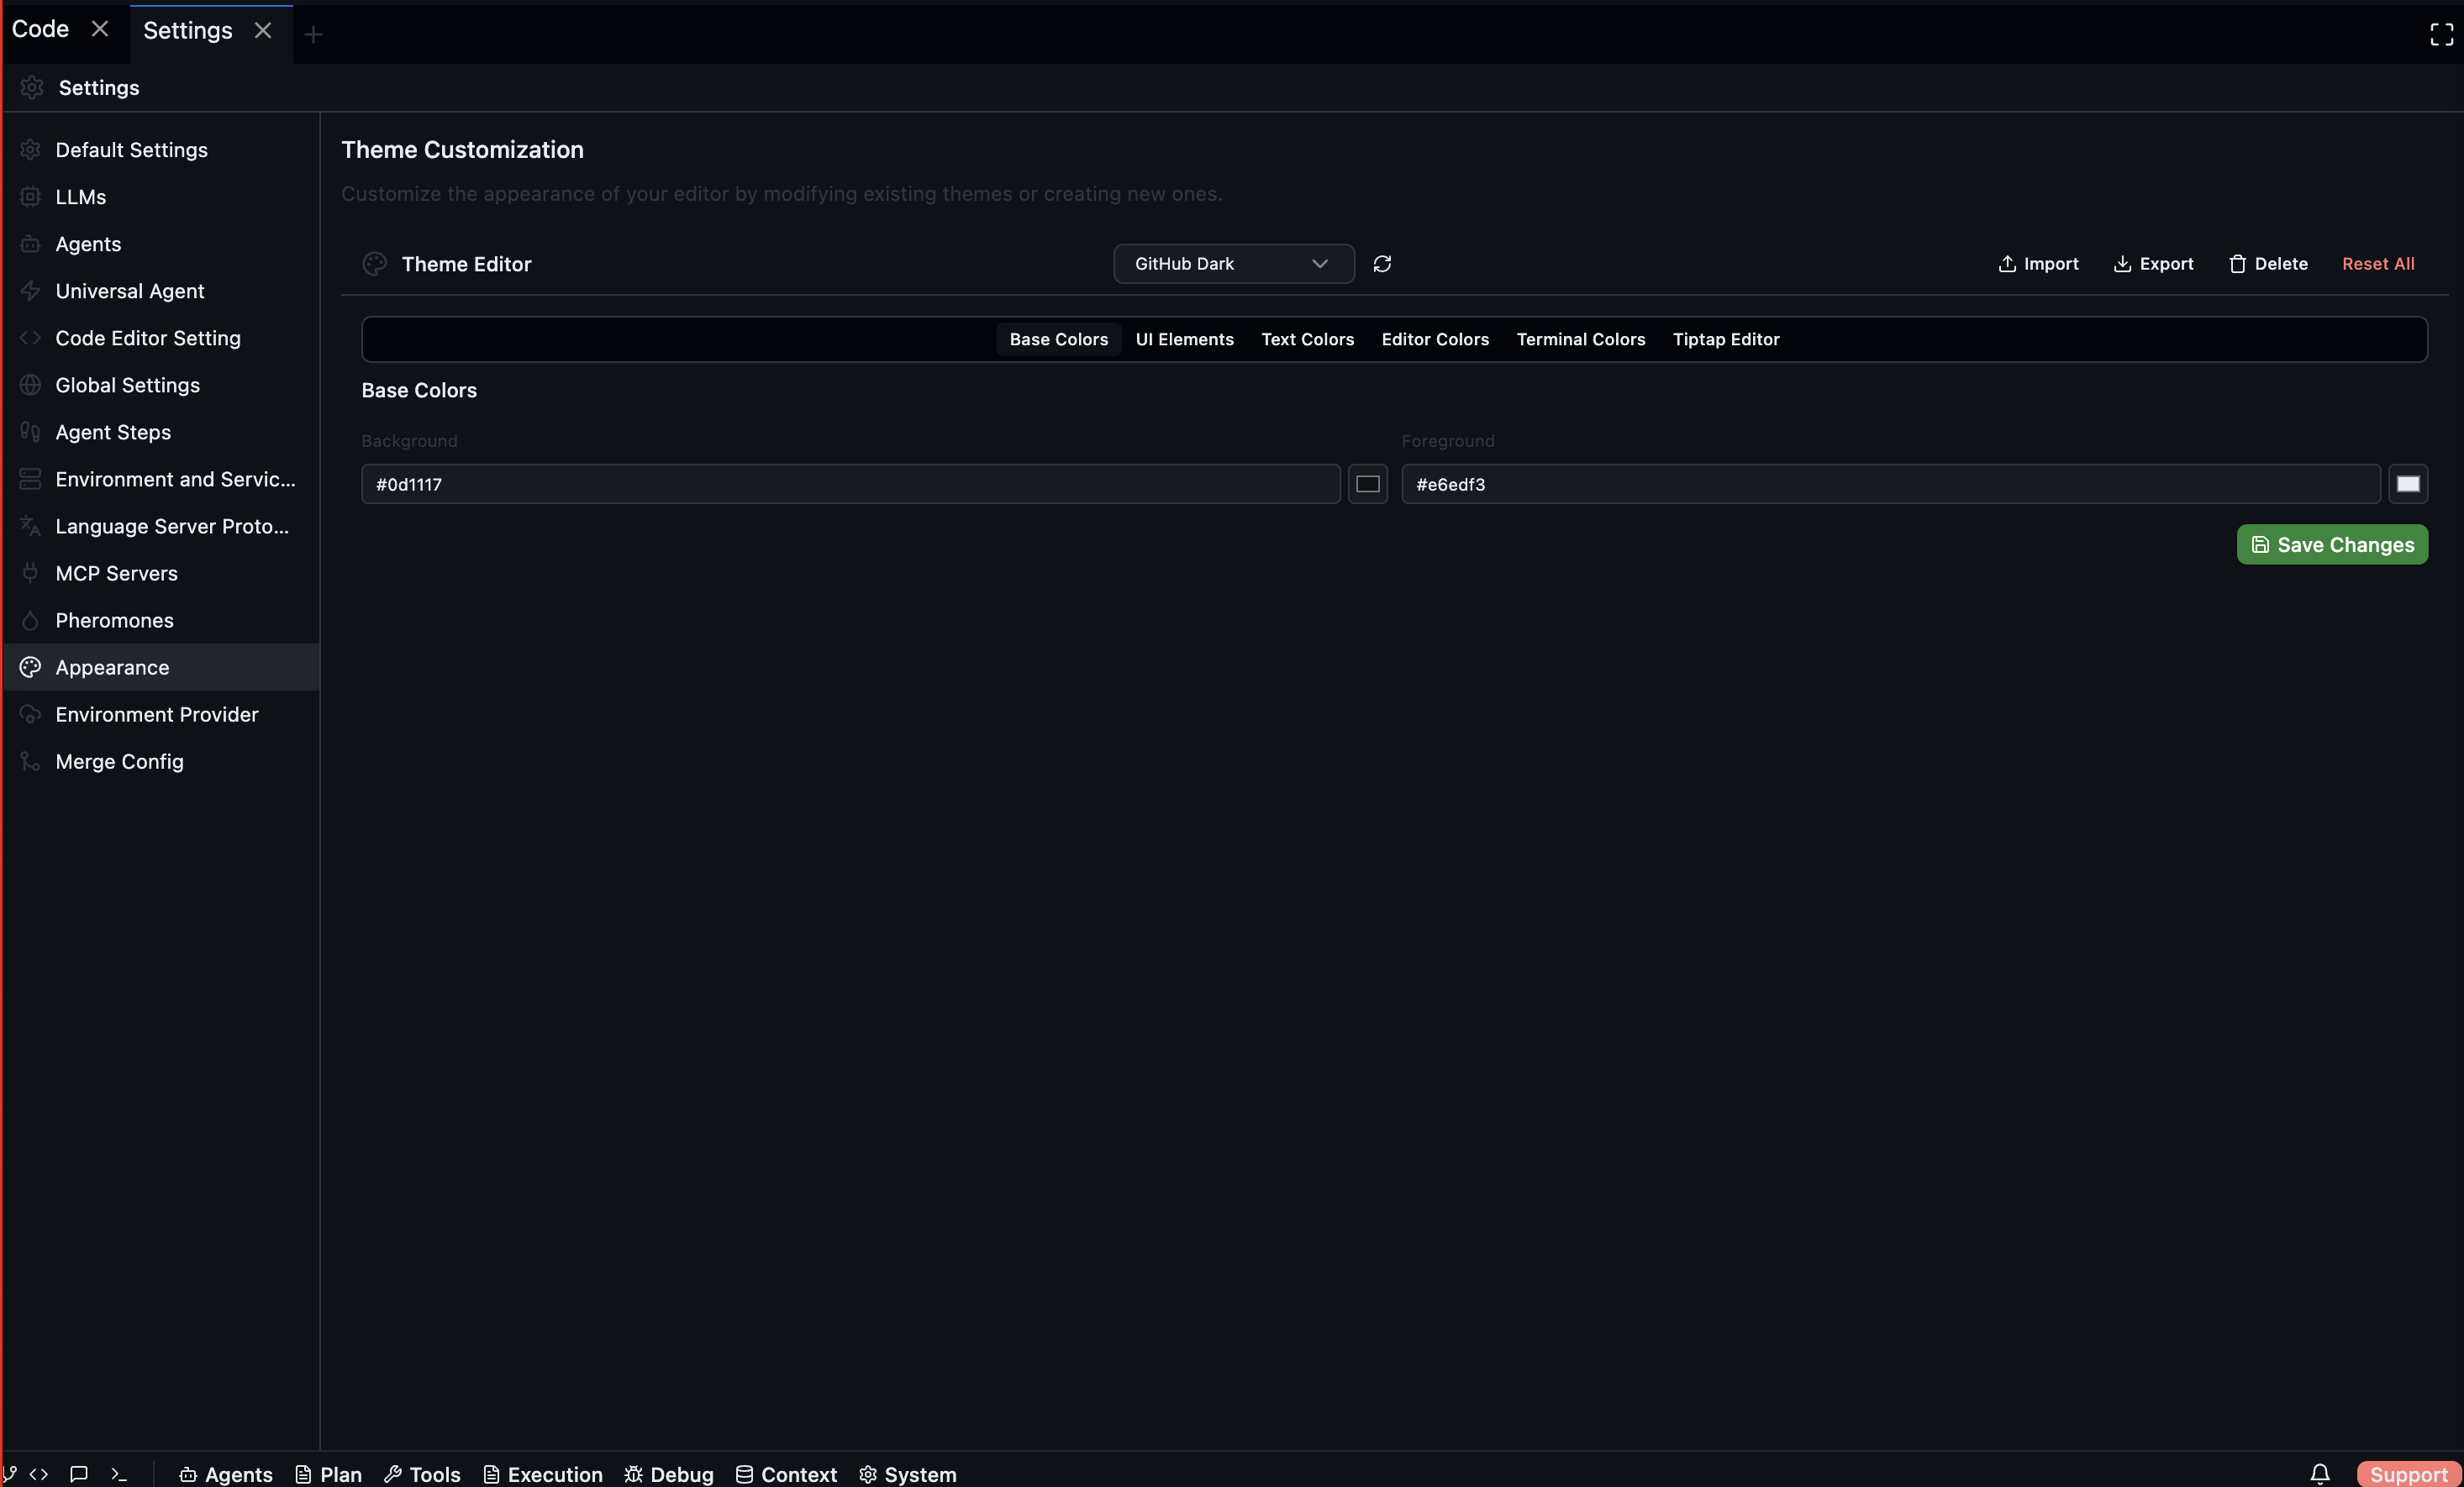
The Appearance section exposes Codebolt's theme editor — a full interface for creating and customising visual themes.
Open via: Settings → Appearance
Use the theme editor to:
- Create a new theme from scratch
- Modify an existing theme's colours and styling
- Load a previously saved theme
- Save your theme to apply it application-wide
All theme changes are applied live as you edit.
Global Settings
Open via: Settings → Global Settings
CLI Setup
The Codebolt CLI lets you interact with Codebolt from a terminal outside the desktop application — launching agents, running workflows, and querying project state.
| Button | Action |
|---|---|
| Install CLI | Installs the CLI tool to your system PATH |
| Check Status | Verifies whether the CLI is installed and functional |
| Manual Setup | Downloads step-by-step setup instructions |
A status message appears after each action indicating success or an error with details.
Background Colour
A colour picker lets you set a custom background colour for the code editor. Click the colour swatch to open the picker, enter a hex value, or drag the selector. The change is applied immediately.
Pheromones
Pheromones are metadata signals agents deposit on jobs to influence how other agents prioritise work — inspired by ant colony optimisation. See Jobs for how they are used during coordination.
Open via: Settings → Pheromones
Default pheromone types
System-defined types that cannot be deleted. Each type has a colour swatch, a display name, and a description. They appear with a Default badge.
Custom pheromone types
User-defined types that you create for your own coordination signals. Each custom type can be deleted with the trash icon.
Adding a custom type
| Field | Description |
|---|---|
| Name | Technical identifier in snake_case (e.g. review_needed) |
| Display Name | Human-readable label shown in the UI (e.g. "Review Needed") |
| Description | Optional explanation of when to deposit this pheromone |
| Colour | Hex colour for visual identification in the Jobs panel |
Click Add Type to save. The new type appears immediately in the Custom Types list and becomes available for agents to deposit.